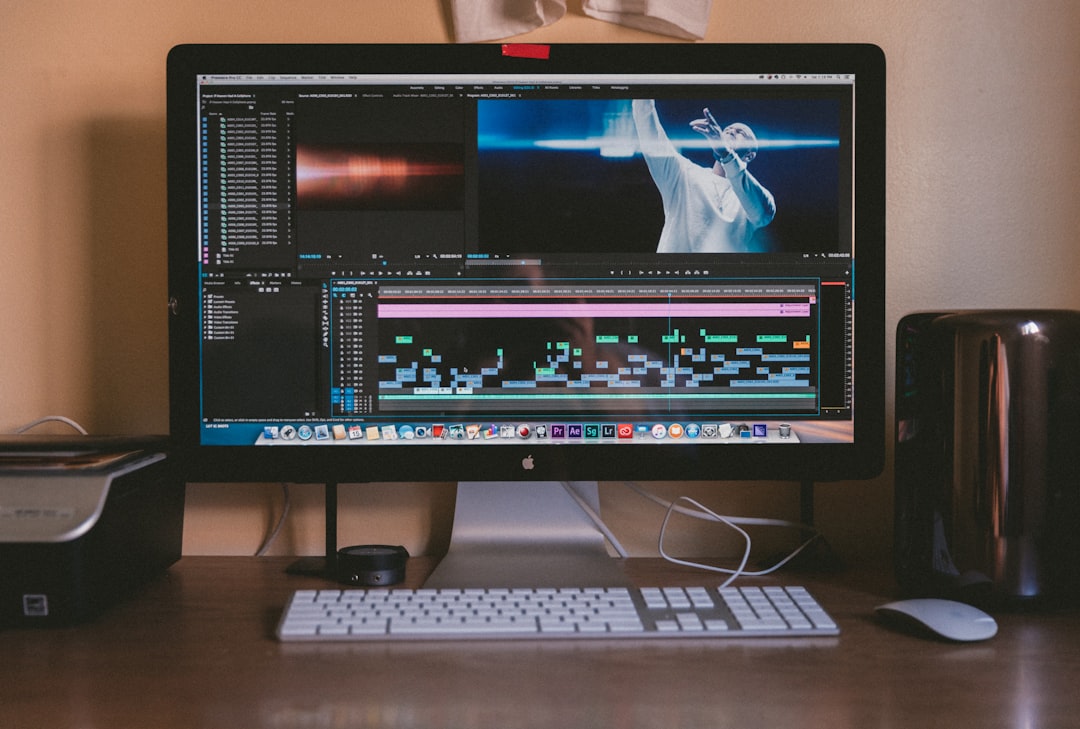
You just imported your video clips into Adobe Premiere Pro, excited to start editing. But instead of seeing your footage, you’re greeted with a not-so-welcome message: “Media Pending.” And it stays there. Like… forever. What gives?
TL;DR
Sometimes, Premiere Pro gets stuck showing Media Pending and never loads your footage. This can be super frustrating, especially if you’re on a deadline. A common fix is to purge the cache files—basically giving Premiere a clean slate. It’s quick, simple, and often works like magic!
Why Premiere Pro Shows “Media Pending”
When you import a video file, Premiere Pro starts decoding and indexing it. This process makes the video editable and viewable in your timeline. But sometimes, things go wrong. And when they do, you’ll see that dreaded screen.
Here are some of the common reasons:
- Corrupt media cache files
- Slow or failing drive
- Unsupported video format
- Project settings that don’t match the media
- Software bug or glitch
Regardless of why it’s happening, you want it fixed—fast.
Purge the Cache! The Magical Fix
One super effective method to get rid of that stubborn “Media Pending” screen is to purge Premiere’s cache files. These files are small bits of data Premiere stores to keep things running smoothly. But sometimes, they get corrupted and cause all sorts of trouble.
Purging the cache is like giving Premiere Pro a nice, cold shower. It forgets the bad stuff and starts fresh.
How to Clear the Cache in Premiere Pro
Here’s a simple step-by-step guide:
- Open Adobe Premiere Pro (you can keep your project open).
- Go to Edit > Preferences > Media Cache (on Mac: Premiere Pro > Preferences > Media Cache).
- Click on “Delete” next to “Remove Media Cache Files.”
- Select the option “Delete all media cache files from the system.”
- Click OK and restart Premiere.
Voilà! Your timelines should refresh, and those clips should finally load!
Still Not Working? Try These Add-Ons
If clearing the cache doesn’t work, don’t stress! There are a few more things you can try:
1. Re-Import Media
Right-click the clip in the project panel and choose “Replace Footage”. Select the same file again. Sometimes this little nudge is all Premiere needs to behave.
2. Move the Files
Copy your media files to a different location on your hard drive. Then re-link them in Premiere. This forces the software to refresh its connection with the files.
3. Change Playback Resolution
In the Program window, change resolution from Full to 1/2 or 1/4. Sometimes lowering the playback resolution helps Premiere load media faster.
Speed Trick: Use a Fast Drive
If your footage is stored on a slow or nearly full hard drive, that could be the issue. Video editing eats up a lot of data—and Premiere doesn’t like to wait. Here’s what you can do:
- Use an SSD instead of an HDD
- Leave at least 20% free space on your drive
- Avoid external thumb drives or ultra-cheap USB sticks
Speedy hardware = happy software.
Change Your Media Cache Location
Sometimes, the default cache folder gets so cluttered, Premiere gives up. You can tell it to start storing cache files elsewhere. Here’s how:
- Go to Edit > Preferences > Media Cache.
- Under Media Cache Files and Media Cache Database, click Browse.
- Choose a brand-new folder on a fast drive.
- Click OK and restart the app.
It’s like giving Premiere Pro a brand new workspace—tidy and fresh.
Keep Your Software Updated
Sometimes, bugs in older versions of Premiere Pro cause the media to stay pending forever. Adobe rolls out updates regularly. Here’s how to check for updates:
- Open the Adobe Creative Cloud app.
- Click on “Apps”.
- If there’s an update next to Premiere Pro, smash that Update button!
New updates come with bug fixes, speed boosts, and enhanced compatibility with new video formats.
Use Proxies for Heavy Files
Got some beefy 4K or 8K footage? That could bog Premiere down. Work smarter by using proxy files—lightweight versions of your original clips.
Here’s how:
- In the Media Browser, right-click your footage.
- Select “Proxy > Create Proxies…”
- Choose a preset and where to save the proxies.
- Premiere will autoswitch to the lightweight version during editing.
This way, even the chunkiest files will fly through your timeline.
A Final Resort: Start a New Project
If all else fails, you might just have a corrupted project file. Sad, but it happens. Creating a new project and importing your old one can sometimes solve the issue.
Here’s what to do:
- Start a new Premiere Pro project.
- Go to File > Import.
- Choose your original project file (.prproj).
- Import the entire sequence or individual files.
This refreshes everything—and Premiere gets a second wind.
Wrap-Up: Trust the Purge
There’s nothing more frustrating than seeing “Media Pending” when you’re ready to create something amazing. But with a few smart tricks—especially clearing that sneaky media cache—you’ll be back to editing in no time.
So the next time Premiere stalls on you, calmly whisper: “Time to purge.” Then click a few buttons… and let the magic happen.
Quick Recap:
- Clear the Media Cache (most common fix!)
- Re-import or move your media
- Change cache location or drive
- Use proxies for giant files
- Update your software often
- If needed, start a new project
Happy editing, and may all your media load instantly!
- Best VPN Downloads Compared for Privacy and Performance - February 1, 2026
- Top 4 Grammarly Alternatives Students Use for Essays and Assignments - January 31, 2026
- Everything You Need to Know About Vexbolts Followers Count - January 30, 2026
