

Creating an app for the App Store is an exciting venture that combines creativity and technology to deliver a product to millions of potential users. From ideation to publication, the process involves several key steps that developers, whether beginners or seasoned professionals, must follow carefully. This guide outlines the essential stages involved in creating and launching your own app on Apple’s App Store.
1. Define the App Idea and Purpose
The first step in app development is identifying a clear purpose. What problem does the app solve? Who is the target audience? By answering these questions, developers can create a well-defined concept that will guide the entire project. Market research is crucial at this stage to ensure there is demand and to analyze competitors.

2. Plan the Features and User Experience
Once the idea is clear, the next step is to sketch out the features and design the user experience (UX). This involves creating:
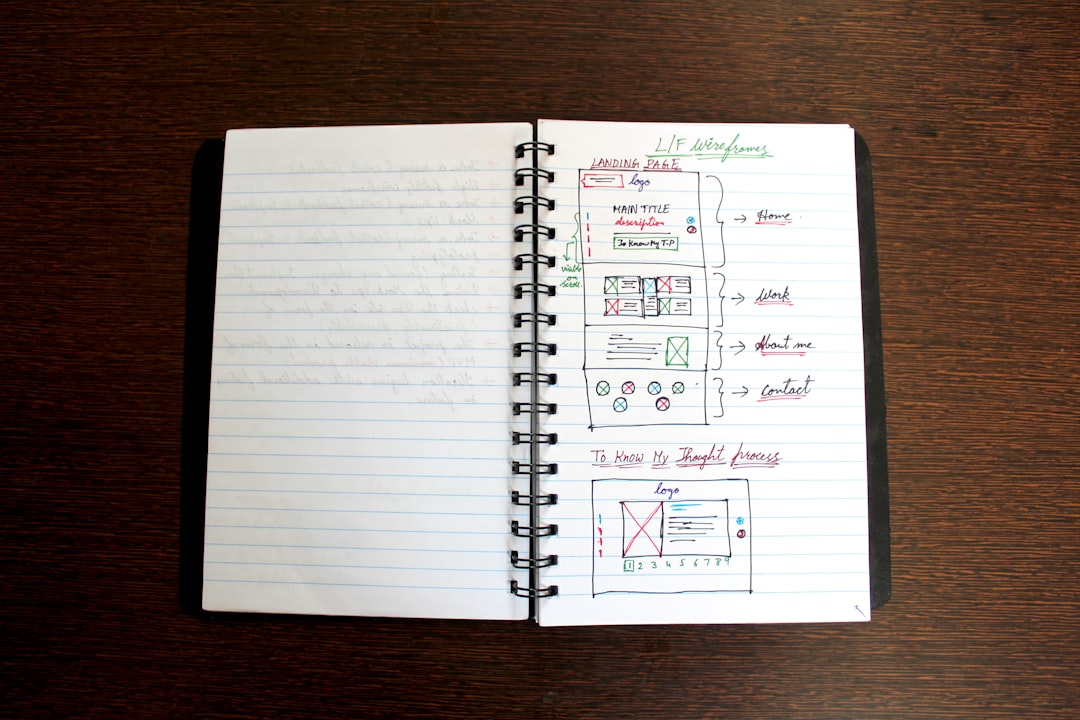
- Wireframes that represent the layout of each screen
- User flows that describe how users will navigate the app
- Feature lists that outline the app’s core functionality
At this stage, it’s also important to consider the app’s monetization strategy, whether it will be free, paid, contain ads, or utilize in-app purchases.
3. Develop the App
The development phase involves writing the actual code. Developers can use different tools, but for iOS apps, Apple’s Xcode and the Swift programming language are the standard. Depending on the complexity, one can choose between building a native app, a hybrid app, or using a no-code/low-code platform for simpler applications.
Apple provides an extensive suite of development tools and documentation, which can be extremely helpful. Developers must also follow Apple’s App Store Review Guidelines carefully to ensure the app will be accepted.
4. Test the App Thoroughly
Before submitting the app to the App Store, it must go through rigorous testing. This ensures that there are no bugs, the app performs well, and it works on all compatible Apple devices. Testing should include:
- Functionality testing – ensuring all features work as intended
- Compatibility testing – checking performance on different iPhones and iPads
- User testing – letting real users interact with the app and give feedback
Tools like TestFlight can be used to distribute beta versions of the app to testers for real-world feedback.
5. Prepare for App Store Submission
Before publishing, developers need to prepare the necessary materials for the App Store, including:
- App name and description
- Keywords for search optimization
- Screenshots and a promotional video (if applicable)
- App icon and preview images


It is also required to create a developer account with Apple. This costs $99 per year and gives access to tools for testing, app publishing, and analytics.
6. Submit the App and Monitor Performance
Once everything is set, the app can be submitted via App Store Connect. It will go through Apple’s review process, which typically takes a few days. After approval, the app goes live and becomes available for users to download.
After launch, it’s important to monitor how users interact with the app. Tools like App Analytics and user reviews provide insight into what works and what could be improved. Regular updates and bug fixes are expected to maintain performance and positive user feedback.
FAQ
- Q: Do I need to know coding to create an app?
A: No, while knowing Swift and Xcode is beneficial, there are no-code platforms like Glide or Adalo that help create apps without coding knowledge. - Q: How much does it cost to publish an app on the App Store?
A: You need to enroll in the Apple Developer Program, which costs $99 per year. - Q: How long does it take to develop an iOS app?
A: Depending on complexity, it can take anywhere from a few weeks to several months. - Q: Can I update my app after it’s published?
A: Yes, updates are encouraged to fix bugs, improve features, and maintain compatibility with the latest iOS versions. - Q: What happens if Apple rejects my app?
A: Apple provides reasons for any rejection. You can make the necessary changes and resubmit your app for review.
By following these steps, anyone with a strong idea and dedication can bring their own app to life on the App Store, reaching a global audience and possibly creating the next big digital success story.


- How to Fix Error 1005 Access Denied (Cloudflare Fix Guide) - February 22, 2026
- SOS in Morse Code: What It Means and How to Use It - February 22, 2026
- How to Fix “To Try Again Enter A1B2C3 Below” Error - February 21, 2026