
The world is going through a paradigm shift in data storage. More businesses are moving from in-house infrastructure to cloud-based data storage and transmission. This allows for quick, cost-effective data handling in the internet age.
As WordPress powers approximately 30% of websites on the world wide web, making a shift to virtual servers makes sense. Hosting a WordPress site on a virtual server via Azure can take your computing into the next decade. Here’s how to make it happen.
Step One: Getting Azure
Before anything else, you’ll need to have access to Azure.

You can get a code for a free trial of Azure from the Microsoft website. There are also other trial options on the Azure site, depending on your needs; find the one that suits you.
Once you have the code in hand, head over to the Azure website, and log in. It’s that simple. When going through the setup process, it’s also wise to evaluate what other tools you’ll need to prioritize cybersecurity, a significant concern with cloud computing. Start with the Logging Tool for Azure App and build as you go.
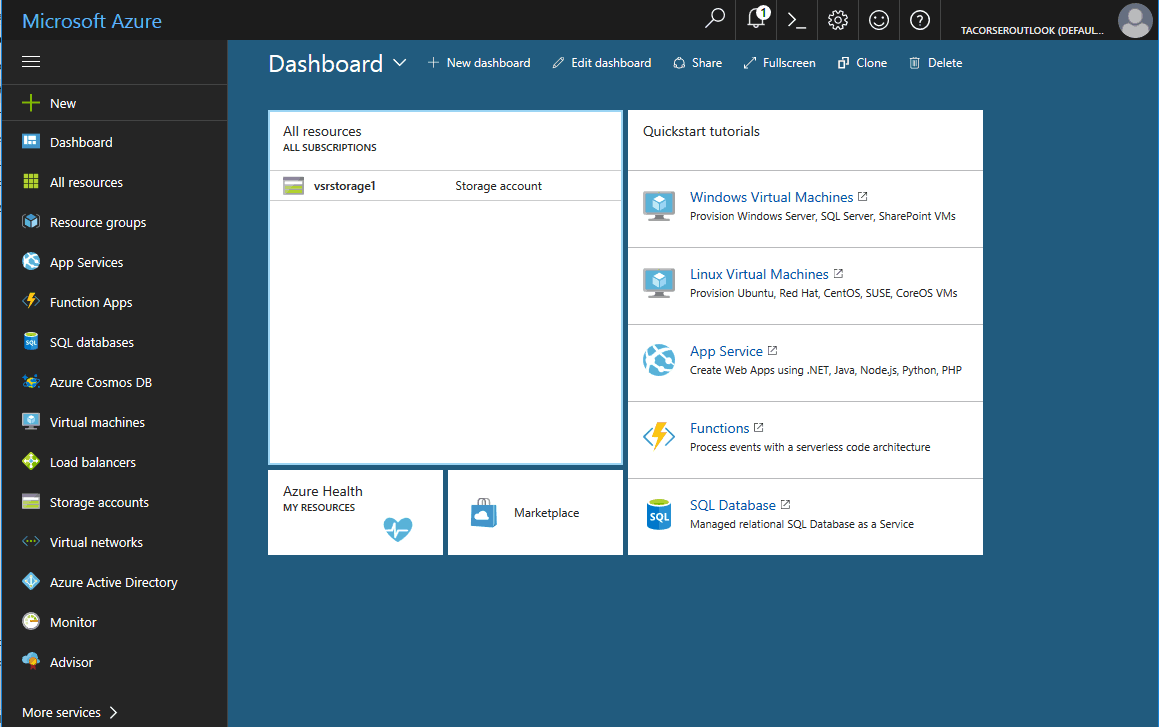

Step Two: Create a Resource
Once you have Azure installed and ready to go, it’s time to create a resource. In your Azure portal, click the “add a resource” button.

Type “WordPress” in the search bar and hit search. When the list loads, there may be more than one WordPress option. Choose the basic WordPress option that’s published by WordPress.
Step Three: Enter the Relevant Information
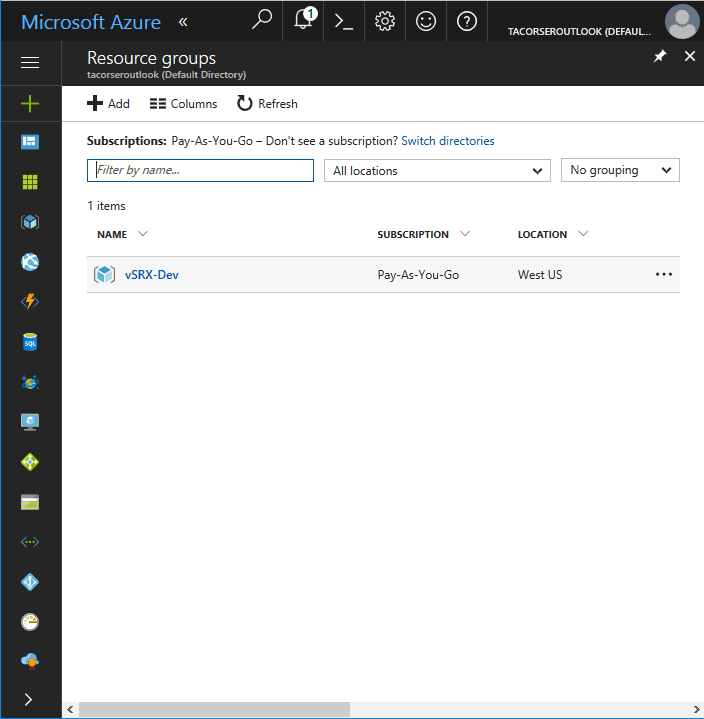
Once you’ve selected the WordPress resource from the list, you’ll be asked to add some unique information for your personal resource. The first task within this step is to choose a unique name for your resource.
Next, you choose a resource group. If this is your first venture into Azure, you can allow the program to create one. From there, you’ll choose an app service plan. There are different costs associated with service plans based on your needs. There is a free option that may be included in your trial.


These plans range from shared to isolated and cover:
- how many apps you can have
- disk space
- domain customization
- automatic scaling
- hybrid connectivity
- network isolation
Your needs as a blogger will be vastly different from your needs as a large corporation. Take a look at the various options and determine what will work for you– you can always scale up later.
Finally, Azure will need to create a MySQL server. This is a straightforward process, using the Azure Database for MySQL service. You’ll be prompted to set up the credentials and select pricing if applicable.
Step Four: Testing
Once everything is in place, your WordPress instance will be ready to go. You can test this using the URL provided before moving onto the final step.
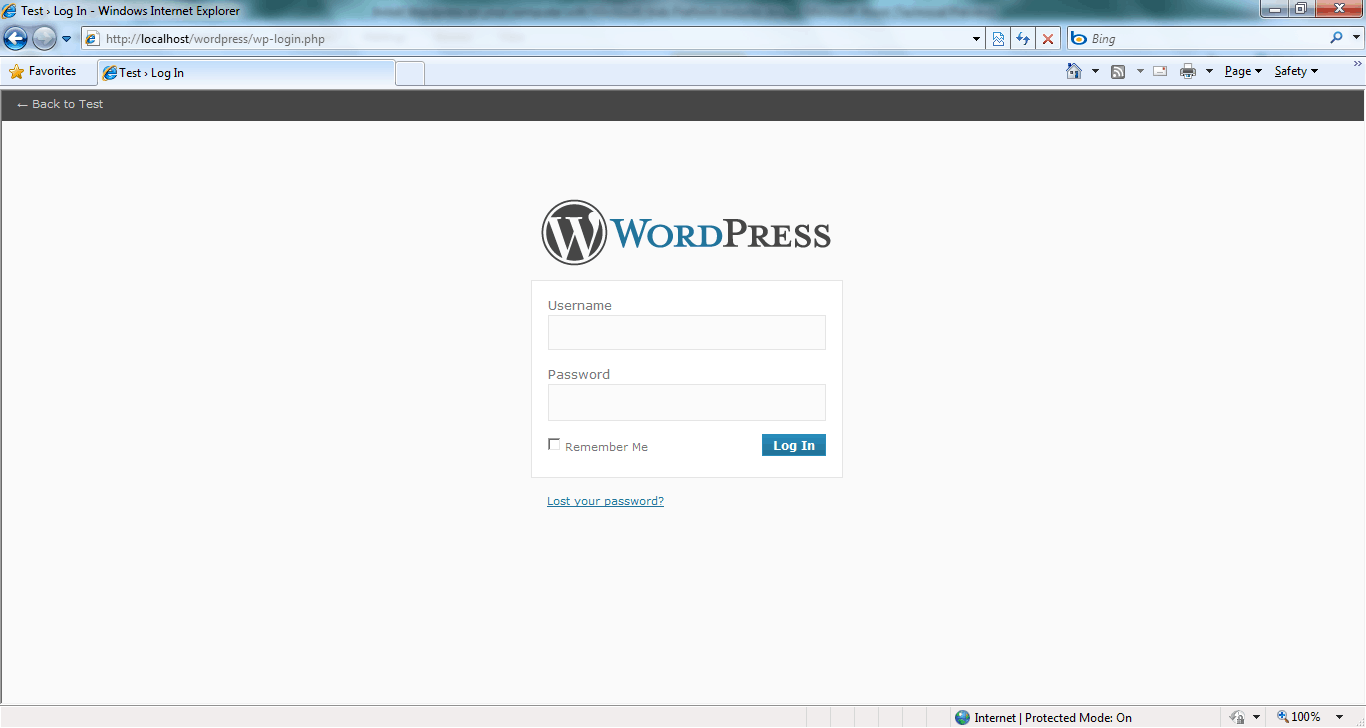
Step Five: Installing WordPress
Now that the WordPress instance is ready, you can complete the installation process. Follow the prompts provided by WordPress to guide you through. This step should be relatively quick and straightforward now that the groundwork has been put in place.

Final Thoughts
The work isn’t over once you have WordPress installed to Azure. As previously mentioned, cybersecurity is a concern when switching to the cloud or shared hosting. The development of this technology is outpacing the options for security, creating an opportunity for hackers.
Take time to put security measures in place, such as different user permissions that limit access to the server and using SSL connections. These features can be added as you build your site but should be a priority.
Installing WordPress to Azure is an easy way to take your site into the future.


- How to Install WordPress in Microsoft Azure - August 23, 2019