
When it comes to audio editing and recording, few tools balance accessibility and power as well as Audacity. As a free, open-source software, Audacity has become a go-to solution for musicians, podcasters, voiceover artists, and audio engineers alike. To truly leverage its features for professional-grade results, however, users must move beyond the basics and learn how to master its wide array of tools and functions.
Getting Started: Setting Up Audacity for Professional Workflow
Before diving into editing, it’s important to ensure Audacity is properly configured. Begin by downloading the latest version from the official website. During setup, choose an appropriate sample rate—typically 44100 Hz or 48000 Hz—depending on your production needs. Next, configure your input and output devices to ensure seamless recording and playback.
Key setup steps include:
- Selecting the correct microphone and audio interface from the dropdown menu.
- Setting mono or stereo track input depending on your recording requirements.
- Testing levels to avoid clipping (inputs peaking in red).
These steps help eliminate common errors in recording and ensure a clean, high-fidelity workflow from the outset.
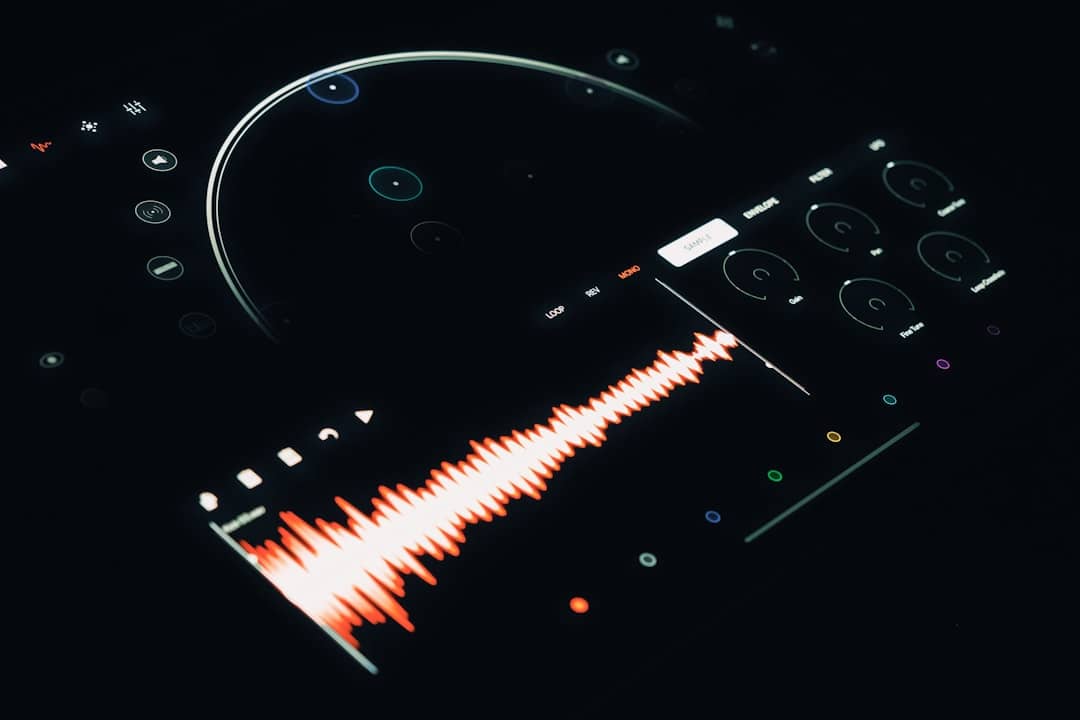
Navigating the Interface: Tools and Panels Explained
Audacity’s interface is simple but deceptively powerful. The top toolbar features essential tools—selection, envelope, draw, zoom, time shift, and multi-tool. Each has a specific function and mastering their use is critical to professional editing.
The Tracks Panel displays recorded or imported audio files. Right-clicking on the track name opens a variety of options to change display settings, channel configurations, and more.
The Meter Toolbar is another vital part of the interface. Keeping an eye on both input and output levels in real-time is essential for high-quality audio work.
Recording with Precision
Whether you’re laying down vocals, instruments, or voice narration, Audacity provides precise control over recording quality. Before hitting the red record button, ensure:
- The correct input device is selected under the “Audio Host” settings.
- You’ve adjusted the gain levels to avoid distortion.
- Monitor input levels during recording using the meter toolbar.
Use the “Generate” menu to create tones, silence, or noise for testing. Don’t forget to record a room tone before starting voice recordings—it helps in noise reduction techniques later on.
Advanced Editing Tools and Techniques
Audacity’s editing capabilities are robust, making it suitable for complex, layered audio work. Selecting and manipulating audio waveform sections allows for quick edits, while the envelope tool adjusts volume over time, allowing smooth fades and gain adjustments.
Some essential editing techniques to master include:
- Noise reduction: Sample a silent portion of your recording and use the noise reduction tool to clean up background hum or hiss.
- Equalization and Compression: These tools adjust frequency balance and dynamic range. Proper use helps your audio sound polished and broadcast-ready.
- Time and Pitch Adjustments: Useful for syncing, correcting timing, or even creative effects.
Utilizing “Undo History” lets you follow non-destructive workflows, ensuring you can experiment without compromising your original recordings.
Exporting Like a Pro
Once edits are complete, exporting your project properly is the final step toward professionalism. Always export in uncompressed WAV or AIFF for archival or mastering purposes. For internet distribution (such as podcasting), use a high-quality MP3 with at least 192 kbps bitrate.
Audacity also supports tags for MP3 files, letting you embed useful metadata directly into the file. This is important when distributing work on platforms like Spotify, Apple Podcasts, or SoundCloud.


Tips for Long-Term Mastery
Becoming proficient in Audacity isn’t just about using the tools, but learning how they integrate into your broader workflow. Here are a few suggestions to help you grow:
- Watch tutorials and read official documentation to understand the intricacies of every feature.
- Create templates for your common recording situations, saving you setup time.
- Join communities like forums or Reddit groups to learn from other users and share techniques.
In time, you’ll find that Audacity is capable of handling even the most demanding tasks with the right approach and mindset.
Conclusion
Audacity is far more than a basic audio editor. With careful setup, advanced editing tools, and skilled export practices, it can serve as a cornerstone for any audio professional. By committing to mastering its features, users open doors to high-quality production without the burden of expensive software licensing.
Whether you’re producing a podcast, recording voiceovers, or polishing music tracks, Audacity provides the tools necessary to turn raw sound into a professional product—completely free of charge.


- Best Adventure Travel Itineraries: Hiking, Biking & Nature Immersion Trips Explained - February 12, 2026
- Ultimate Guide To Authentic Cultural Travel Experiences With Local Experts - February 12, 2026
- Top 5 Languages Every Web Developer Should Know - February 12, 2026