

Have you considered accepting guest blog posts on your WordPress site?
Yes, that sounds like the title of a spam email, but it’s a genuine question. If done correctly, guest blog posts can be an excellent way to increase traffic to your site, and build connections with other bloggers.
In this tutorial, I’ll show you how to safely set up guest authors. In most situations, you don’t want to need the guest author to have a real account on your WordPress site. The guest author probably doesn’t need to log in. All they need to do is send you their content, plus their personal details for the author’s profile.
One way to safely add guest authors is with the PublishPress Authors plugin. This plugin will replace your default author profiles so that they do not have to be connected to user accounts.
Here’s how to get started
- Go to your “Plugins” screen and click “Add New.”
- Search for “PublishPress Authors.”
- Install and activate the plugin.

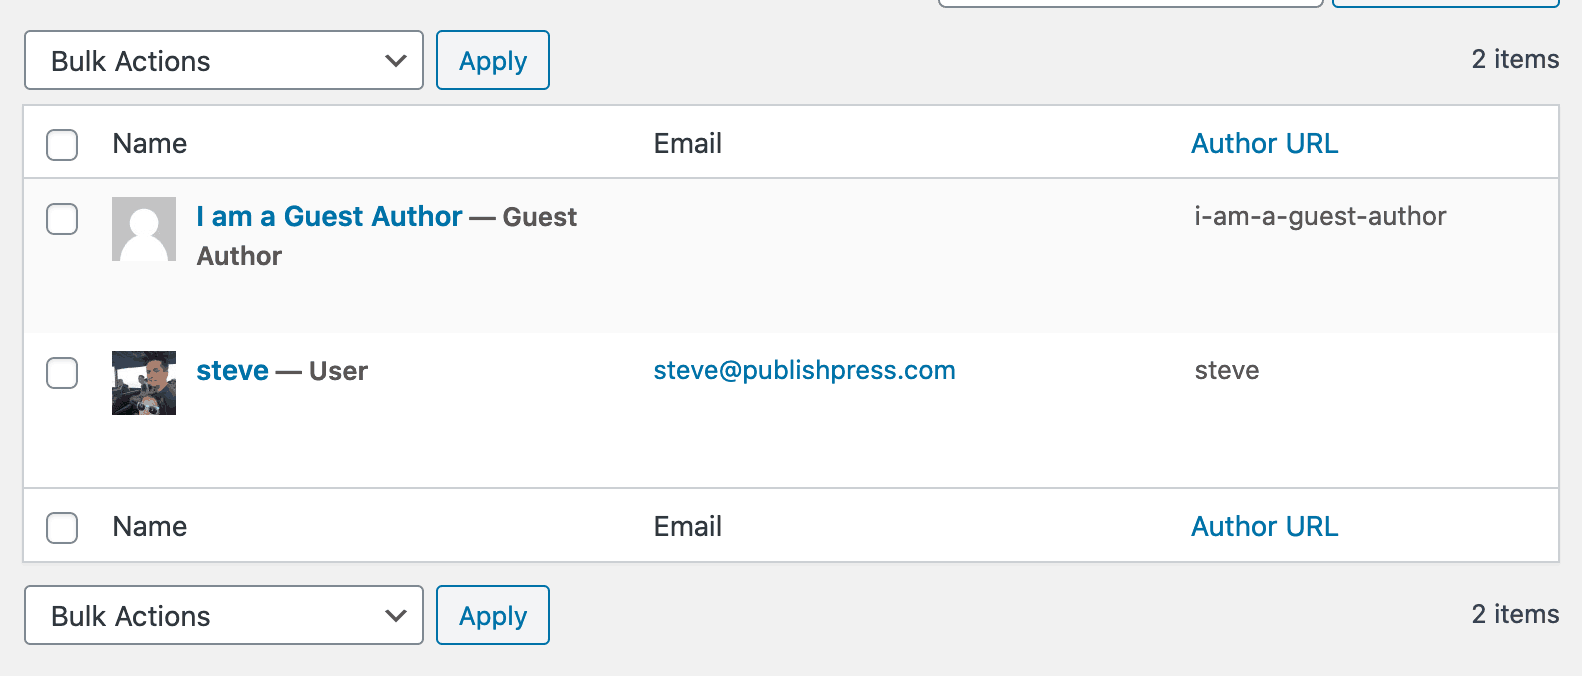
- Go to “Authors” in your WordPress menu. You should see one author account already set up for you, as in this next image:
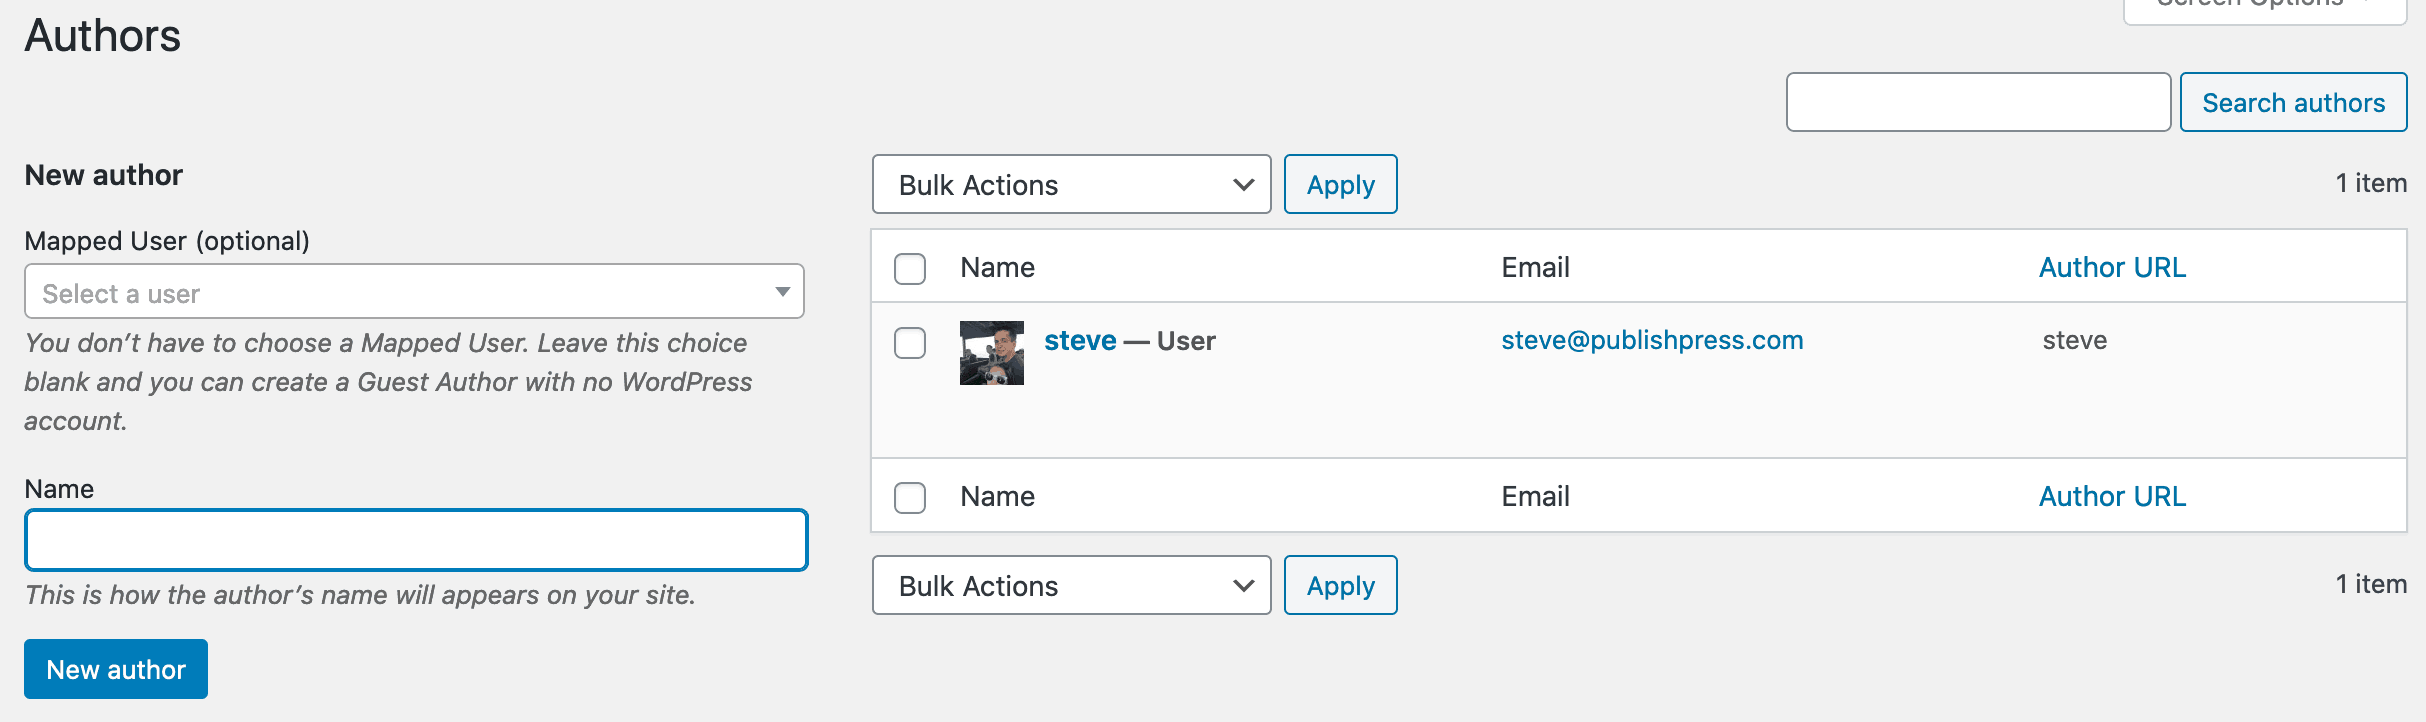

Starting on this “Authors” screen, you can create new authors for your content.
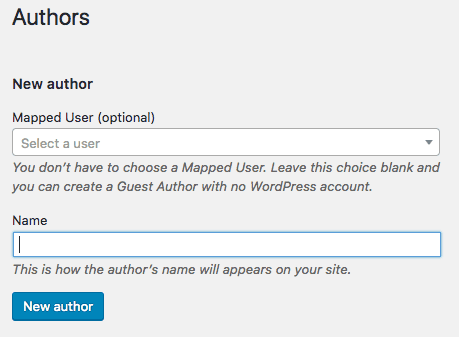
You can create two kinds of Authors here:
- Mapped Authors: These are connected to regular WordPress users and can share all their details.
- Guest Authors: These are for authors who don’t need an account on your site.
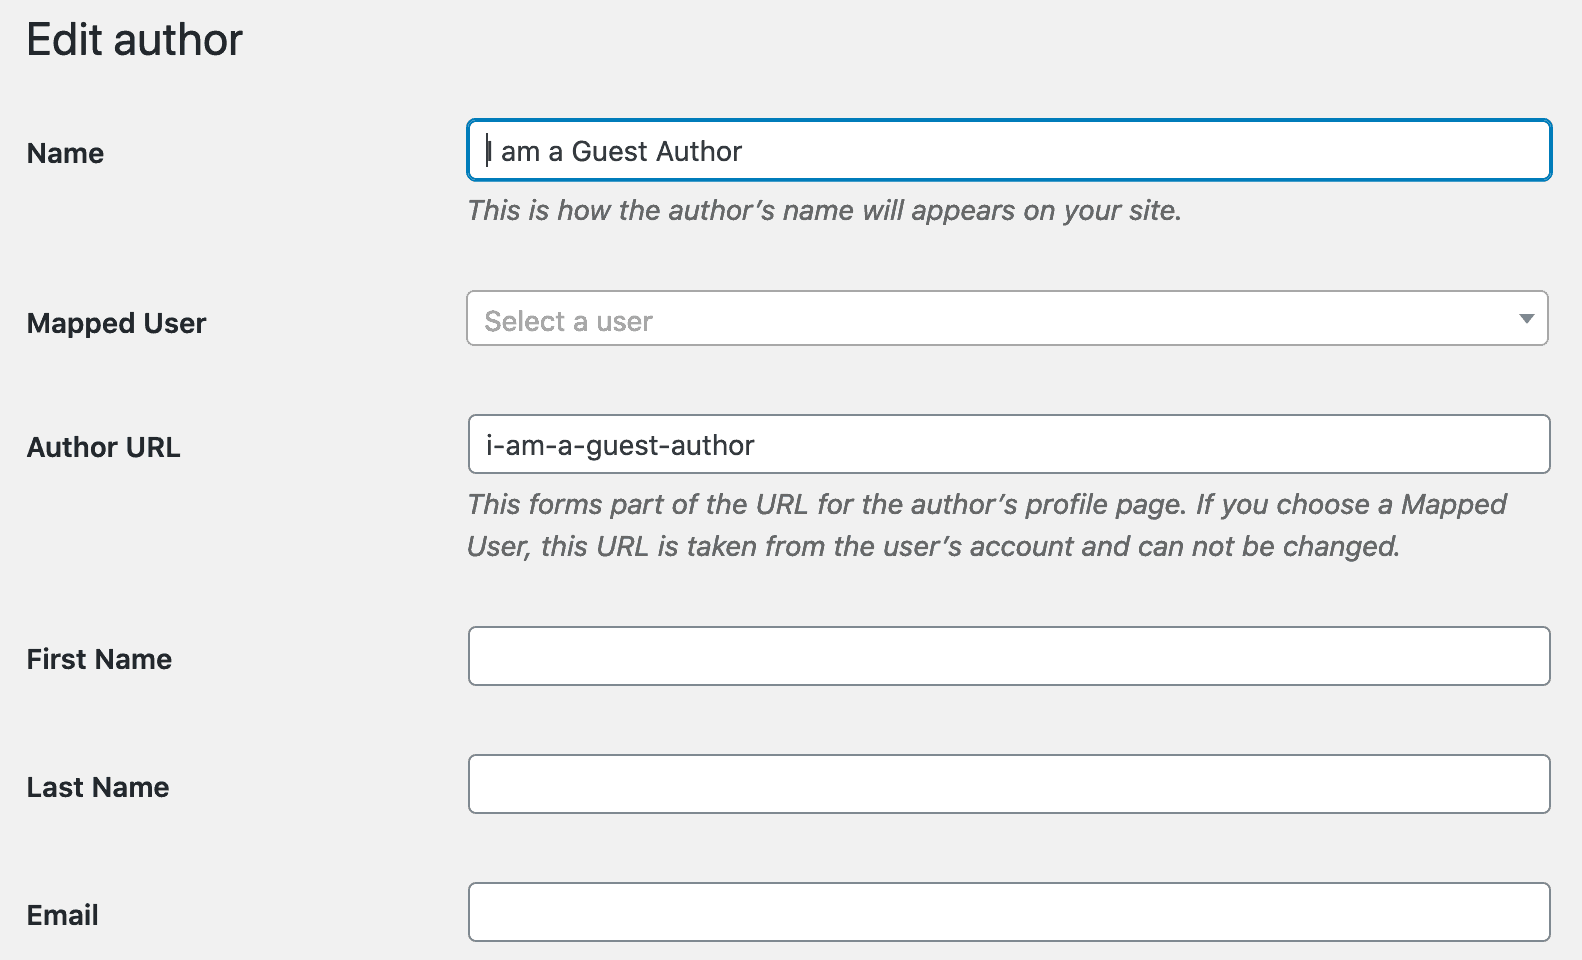
If you choose the “Mapped User” setting, you can then connect the Author to a WordPress user. However, you can leave this blank and create a Guest Author.
This image shows what your screen looks like when you create a Guest Author:
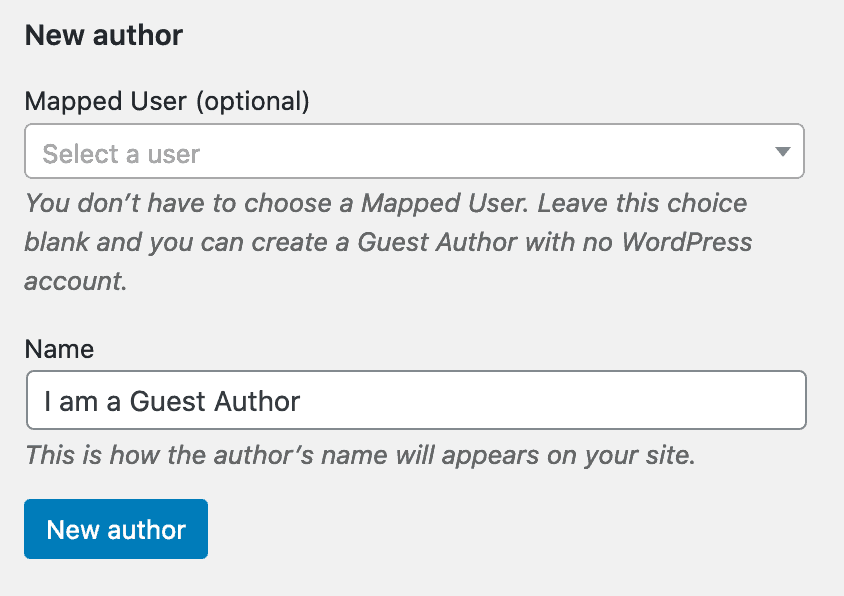

PublishPress treats WordPress Guest Authors identically to Authors who are mapped to users. You will be able to select and display Guest Authors in exactly the same way as for mapped users.

- Click the “New author” button, and you’ll see the author profile on the right side of the screen:

You’ll notice that the email field is blank, but we can fix that. By default, every Guest Author can have this information:
- First Name
- Last Name
- Website
- Biographical Info
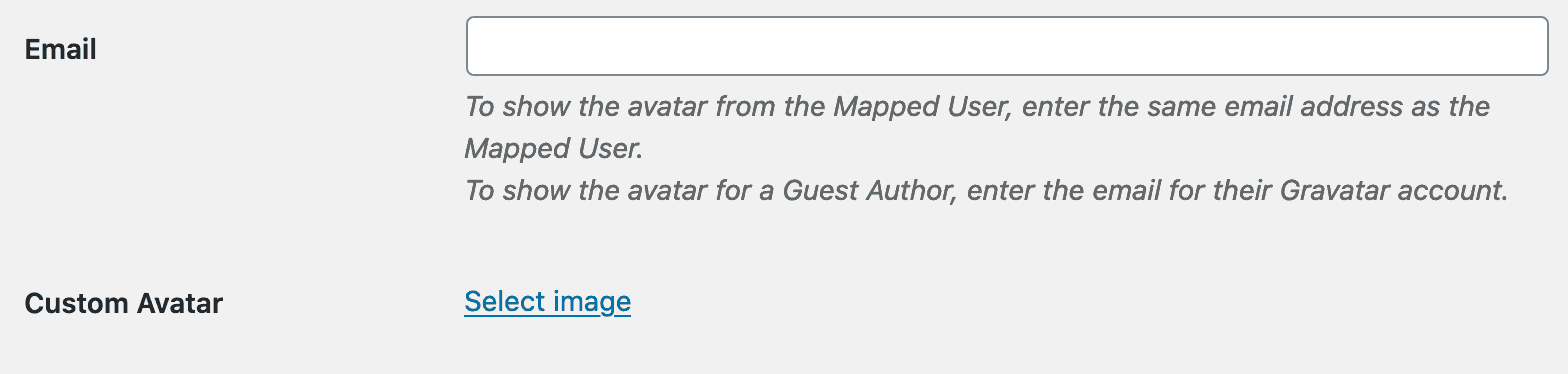
You can set up this information by clicking on the Guest Author profile:

You can also set up the Guest Author with an avatar. You can either enter the email address that is connected to their Gravatar account or can upload a custom image:

Here’s the key thing … your guest author didn’t have to interact with your WordPress site at all. You are able to create an author profile for them.
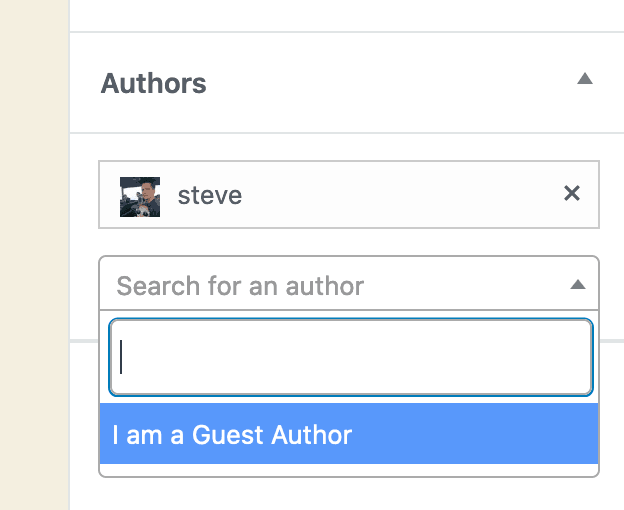
Now, let’s see how to set up the Guest Author as the author of a post.
After you have set up your authors, you will see a new box on the right-hand side of all your posts. You can add and remove authors using this box:

One of the advantages to PublishPress Authors is that you don’t need to manually edit any files. The plugin gives you several different options to display the authors’ box.
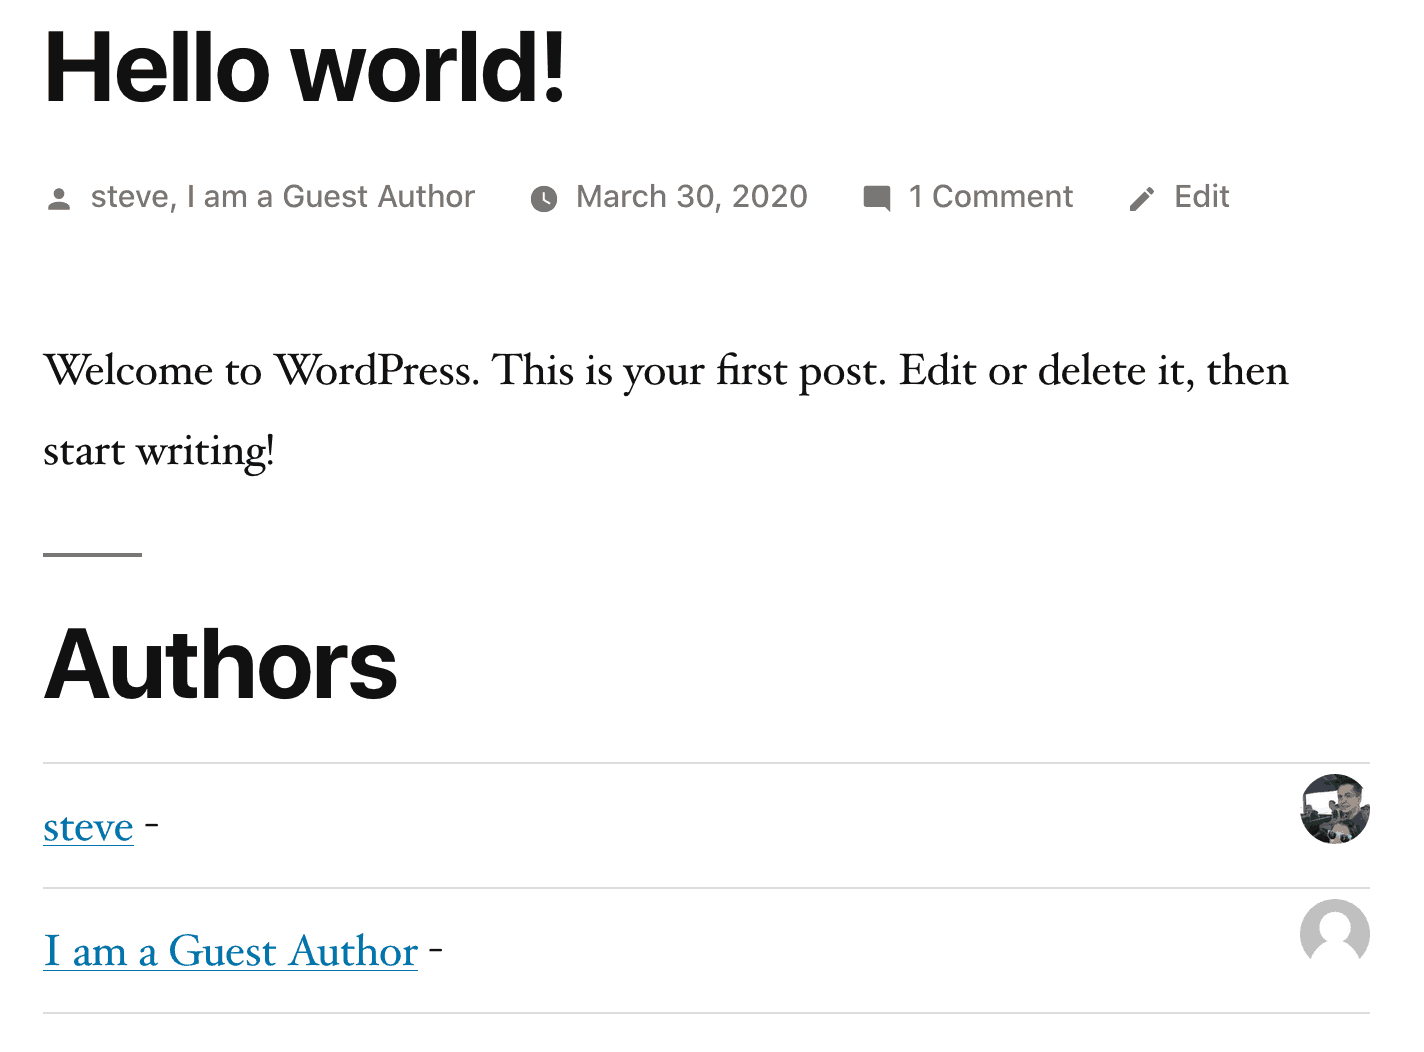
However, you don’t need to do anything at all. The plugin will automatically show your authors (this applies for most, if not all, themes). In this next image, you can see that PublishPress Authors have replaced the main author’s byline and also placed profiles below the post.

There’s also a widget option available. PublishPress Authors will automatically create a widget that you can use to show the authors.
- Go to “Appearance,” then ”Widgets” in your WordPress admin menu.
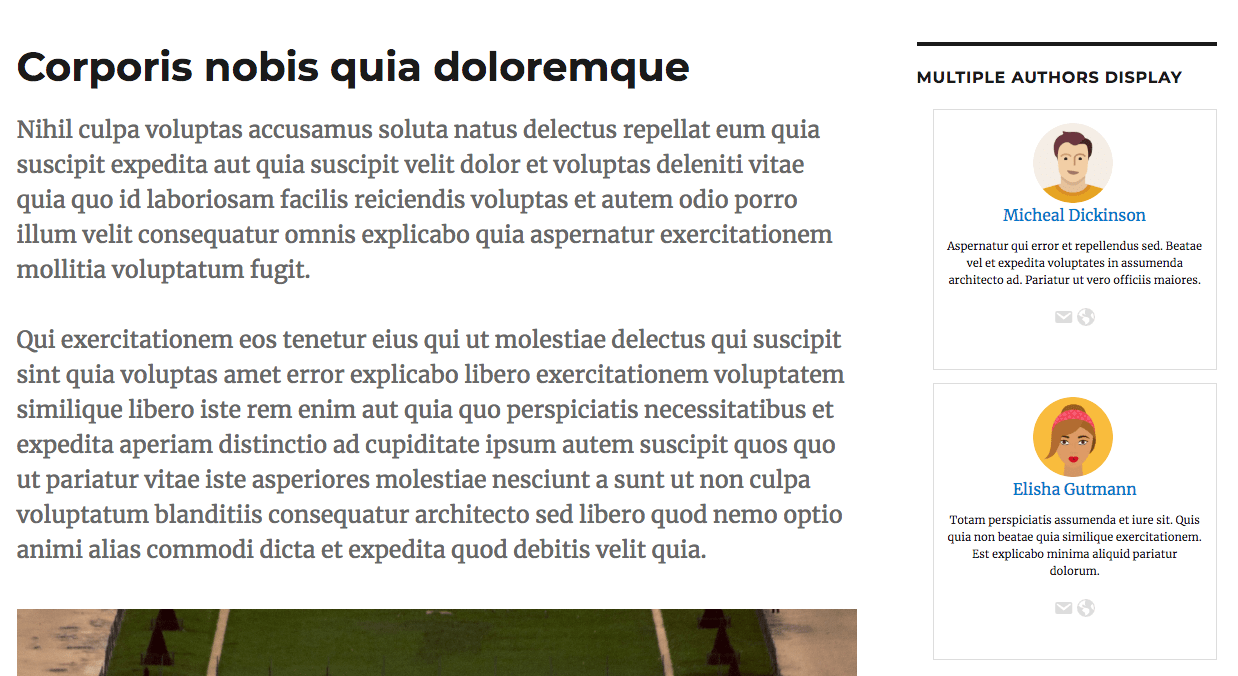
- You can use the widget to place your PublishPress Authors profiles in any sidebar or widget area. This image below shows the author widget in a sidebar.

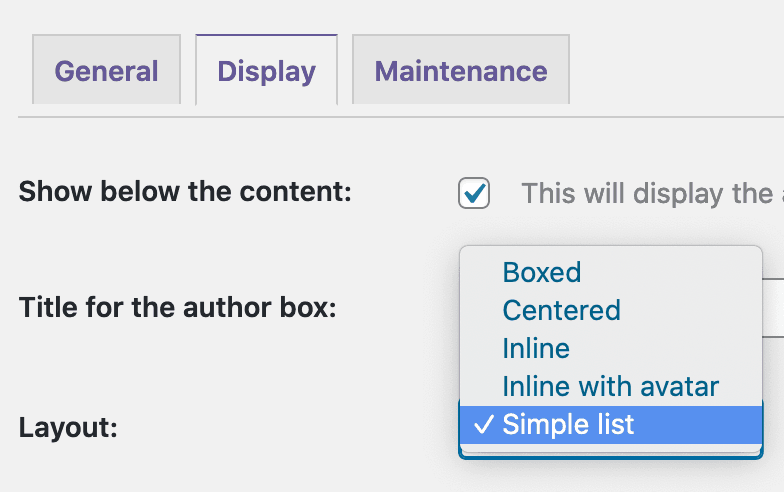
When it comes to displaying your author profiles, you’ve seen some layouts already. However, there’s a variety of options to choose from. Inside the PublishPress settings, you can choose from five layouts:
- Boxed
- Centered
- Inline
- Inline with avatar
- Simple list

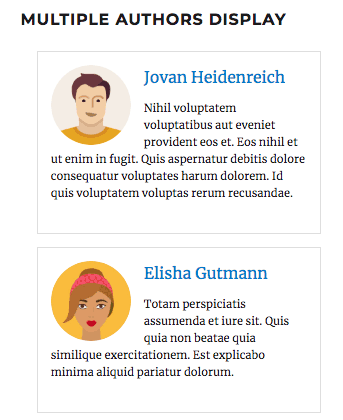
This image shows the Boxed layout that is useful for placing Author profiles in the sidebar of your site:

Advanced PublishPress Authors Features
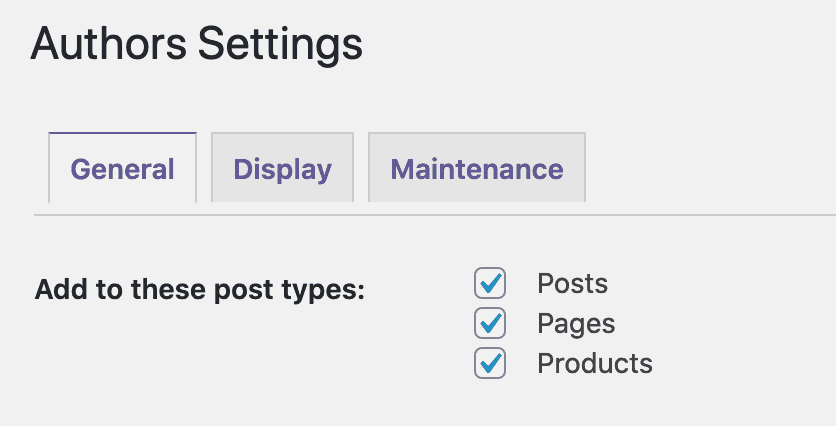
In the “Settings” area of PublishPress Authors, you’ll find some advanced settings.
For example, you can add the author’s features to Posts, Pages, or any other content type.

You can also choose to automatically create new author profiles for users in some roles. In the image below, everyone who registers as an Editor or Author will get their own profile in PublishPress Authors.


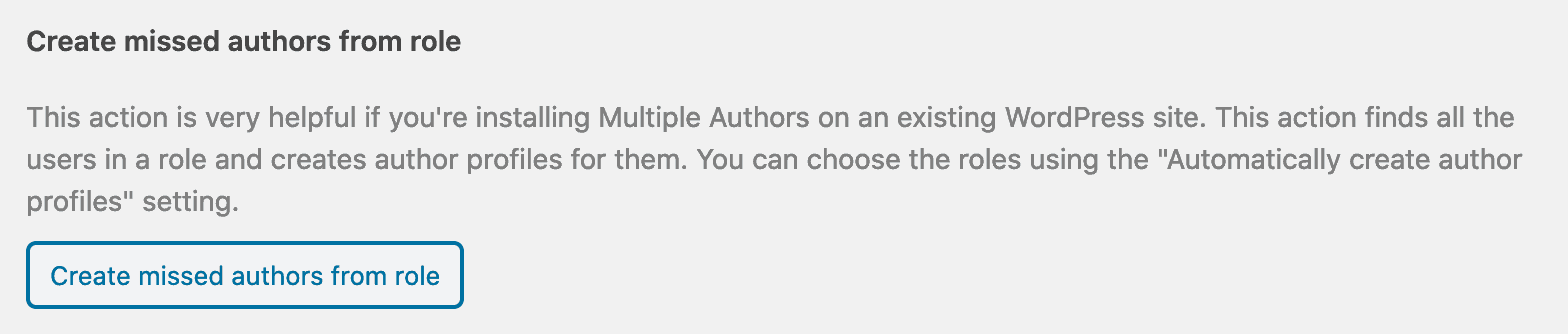
You can also run this in reverse if you have an existing site with lots of users. Click the “Maintenance” tab and then click “Create missed authors from the role.” If you have chosen Editor and Author in the settings above, you will now get profiles for all existing Editors and Authors.

Pro version of Multiple Authors
There’s a Pro version of PublishPress Authors available with two extra features: Custom fields and Custom layouts.
By default, PublishPress Authors allows you to enter six fields for each author:
- First Name
- Last Name
- Avatar
- Website
- Bio
When you’re using PublishPress Authors Pro, you can add new field types to author profiles. The five extra field options are:
- Text
- Multiline Text
- WYSIWYG Editor
- Link
You can click here to see the full details for custom fields. First, let me walk you through an example of adding custom fields:
- In your WordPress admin menu, go to “Authors,” then “Fields.”
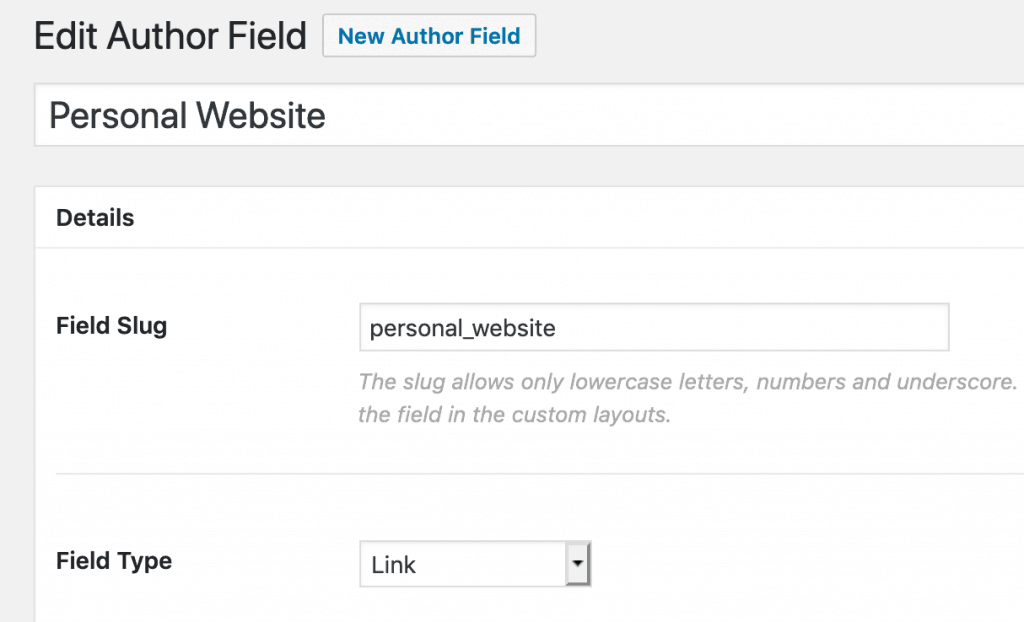
- Click “New Author Field.”
- You can choose a title, which in the image below is “Personal Website.”
- Choose a “Field Type.”

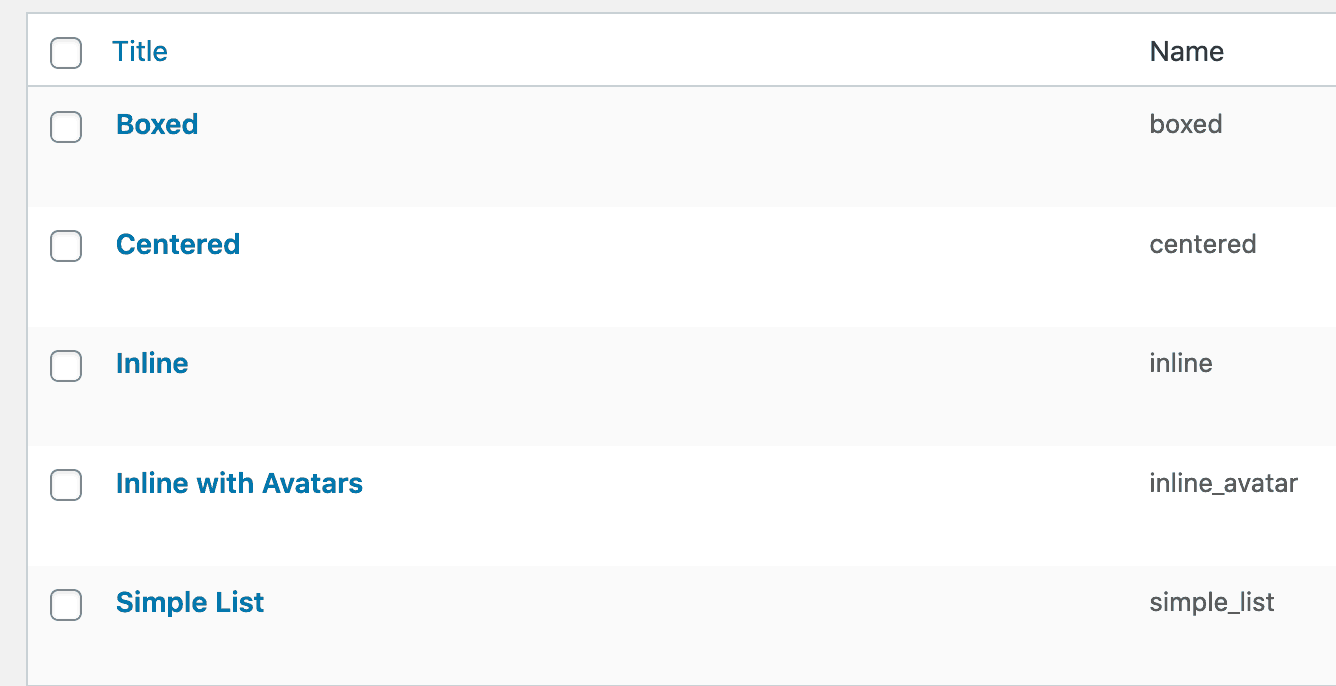
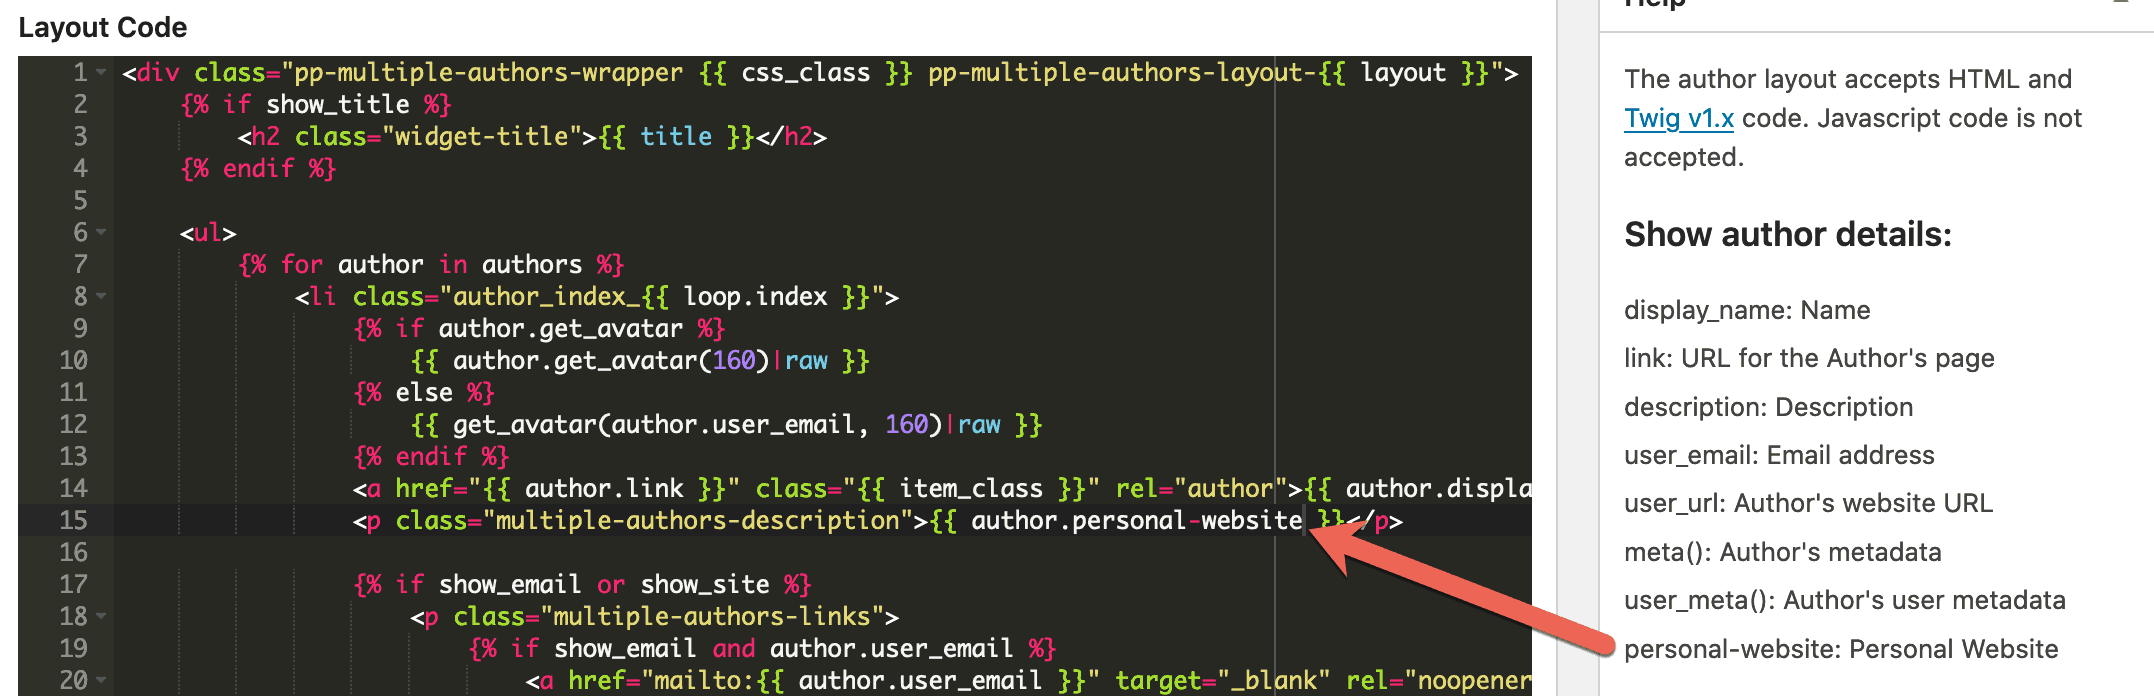
You can now go to “Layouts” in your WordPress admin menu, and all five layouts are available for editing: Boxed, Centered, Inline, Inline with avatar, Simple list.

If you edit one layout, you can add your custom field. The available fields are shown in the right sidebar, and you can add them to the layout code. In the image below, I’ve drawn an arrow connecting the field documentation and the code for that field.

The layout feature enables you to pull together all your author information and custom fields. Each layout is editable using Twig, which is a flexible layout code. To find out more, click here to see how to customize author layouts.
PublishPress Authors Summary
Yes, it is possible to safely create guest author profiles in WordPress.
PublishPress Authors is a solid plugin for adding guest authors. As an extra bonus, it also enables you to add more than one author to a WordPress post. Neither of these things is normally possible in WordPress.
PublishPress Authors Pro is part of a package of publishing plugins. You can check them all out at the PublishPress website.