
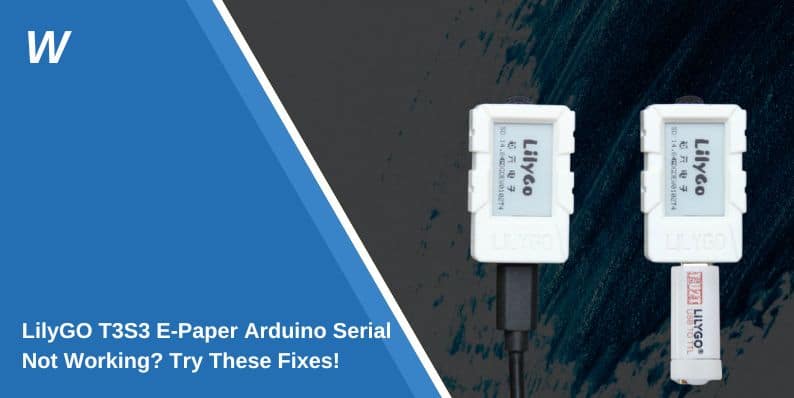
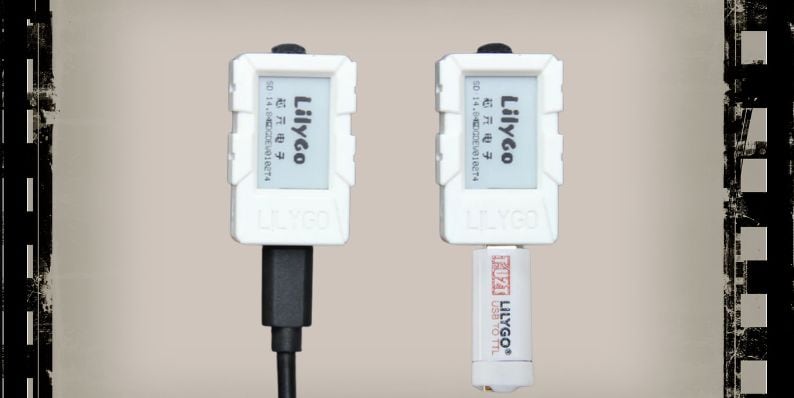
The LilyGO T3S3 is an ESP32-S3-based development board designed for projects involving e-paper displays, wireless communication, and IoT applications. It integrates well with Arduino IDE, making it a popular choice among developers.
However, many users experience issues with serial communication, where the board fails to output data, does not appear in the Arduino Serial Monitor, or has trouble establishing a stable connection.
This guide will walk you through the most common causes of this issue and provide step-by-step solutions to help you restore communication.
What Causes LilyGO T3S3 Serial Communication to Fail?
If your LilyGO T3S3 is not working over serial, the problem usually stems from USB connection errors, firmware misconfigurations, or hardware conflicts.
Here are some causes that can be mostly responsible:
1. USB Driver Issues
Most ESP32-based boards, including the LilyGO T3S3, require USB-to-serial drivers to function properly. If these drivers are missing or outdated, your computer may fail to detect the board, preventing any communication through the Arduino Serial Monitor.
Common USB drivers used for this board include:
- CP210x (Silicon Labs) – Used in many ESP32-based boards.
- CH340 (WCH Electronics) – A common serial-to-USB chip.
- FTDI (Future Technology Devices International) – Used in some ESP-based modules.
2. Baud Rate Mismatch
Serial communication works by transmitting data at a specific baud rate. If the baud rate set in the Arduino Serial Monitor does not match the one configured in your Arduino sketch, you may see garbled text or no output at all.
The most common baud rates for ESP32-based boards include:
- 115200 (Default for most ESP32 boards)
- 9600 (Older serial settings)
- 230400 or higher (For high-speed data transfer)
3. Hardware Connection Problems
A faulty USB cable, loose connection, or bad port can interrupt communication. If your board is not appearing under COM ports, try a different USB cable or switch to another USB port.
Additionally, if you’re using external peripherals connected to the TX/RX (UART) pins, they might interfere with communication, causing the serial monitor to become unresponsive.
4. ESP32 Boot Mode Conflict
ESP32-based boards, including the LilyGO T3S3, have multiple boot modes that determine how the board interacts with serial communication. If the board is stuck in the wrong mode, it may not send data to the Serial Monitor.
The most common issue occurs when:
- The board boots into flashing mode instead of normal operation.
- A GPIO pin connected to TX/RX interferes with the boot process.
- The board requires a manual reset after flashing firmware.
5. Firmware or Code Errors
If you’ve flashed incorrect firmware or used a wrong serial configuration in your Arduino code, the board may become unresponsive. Common mistakes include:
- Using Serial instead of Serial1 or Serial2 when working with multiple UART interfaces.
- Sending data while ESP32 is in low-power mode, causing it to ignore serial output.
- Incorrectly configured UART pins, leading to conflicts with onboard hardware.
How to Fix LilyGO T3S3 Serial Communication Issues

Here are solutions you can try one by one.
1. Check and Install USB Drivers
If your LilyGO T3S3 is not detected, you may need to install the correct USB-to-serial driver.
- Open Device Manager (Windows) or System Information (Mac/Linux).
- Look under Ports (COM & LPT) for CP210x, CH340, or FTDI devices.
- If missing, download and install the correct driver from the manufacturer’s website.
- Restart your computer and check if the board is now recognized.
If the device still isn’t appearing, try switching USB cables or using a different port.
2. Verify Arduino Serial Monitor Settings
A mismatched baud rate can cause the serial monitor to show random characters or nothing at all.
- Open Arduino IDE → Tools → Port and select the correct COM port.
- In the Serial Monitor, set the baud rate to 115200 (or the rate in your sketch).
- If you still see garbled text, try lower baud rates like 9600.
If there’s still no output, check if your code is using Serial.print() correctly.
3. Check USB Cable and Ports
Not all USB cables support data transfer. Some are power-only cables, which means the board will receive power but won’t communicate with your PC.
- Try a different USB cable (preferably one that works with other devices).
- Plug the board into a different USB port on your computer.
- If using a USB hub, connect directly to the PC instead.
If the issue persists, the USB connector on the LilyGO T3S3 may be loose, requiring careful inspection.
4. Manually Reset the Board
Sometimes, the board needs a manual reset to exit an unresponsive state.
- Press the EN (Enable) button on the LilyGO T3S3.
- If nothing happens, hold the BOOT button while reconnecting the USB cable.
- Release BOOT and try opening the Serial Monitor again.
This can help if the board is stuck in bootloader mode.
5. Reflash the Firmware
If all else fails, you may need to reflash the firmware to restore serial communication.
- Download a fresh copy of the ESP32 firmware (Arduino, ESPHome, or Micropython).
- Open a terminal and use esptool.py or ESPHome-Flasher to flash the firmware.
- Restart the board and check if the serial monitor now displays output.
If the board still fails to respond, it may be a hardware issue requiring further testing.
When to Consider Hardware Issues
If none of the software fixes work, the problem may be due to physical defects in the board.
- Test the board on a different PC to rule out software problems.
- Use an external USB-to-serial adapter to bypass onboard UART.
- Inspect TX/RX pins for damage if using a custom wiring setup.
If the board is still unresponsive, it may need to be replaced or repaired.
Final Thoughts
The LilyGO T3S3 is a powerful board, but serial communication problems can make it difficult to debug and program. By following these troubleshooting steps, you can quickly diagnose and resolve the issue.
If you found this guide helpful, leave a comment below or share it with others facing similar issues.


- Fix “A Running Instance of Acrobat Caused an Error” on Windows? - February 19, 2026
- How to Fix unarc.dll Error Code 11 on Windows? Solution Guide - February 12, 2026
- How to Fix “Sorry There Was an Error Licensing This Video” on YouTube? - February 12, 2026