Convert ZIP to SF2 in Just a Few Steps
Working with soundfonts is essential for many music producers, game developers, and audio engineers. Soundfont 2 files, or SF2 files, are widely used for storing sampled audio data and are compatible with a broad range of software applications. On the other hand, ZIP files are commonly used to compress and store collections of files. If you’ve acquired instrument samples or full soundfont collections in ZIP format, it’s crucial to understand how to properly convert them into SF2 files. This process may seem daunting at first, but with a clear step-by-step approach, you can achieve high-quality results quickly and efficiently.
Understanding ZIP and SF2 Files
ZIP files are compressed archive files that can contain a variety of file types. When it comes to soundfonts, ZIP files typically bundle together WAV files, presets, or even pre-formatted SF2 data. Before you can use them in your DAW (Digital Audio Workstation) or sampler, you’ll need to extract and organize their content appropriately.
SF2 files are structured representations of sample data formatted for playback through software synthesizers and MIDI systems. They contain a library of instrument sounds, organized with multisamples and parameter data that allow for expressive musical playback.
Why Convert ZIP to SF2?
Many users receive sound libraries in ZIP format, either from commercial vendors or open-source repositories. While this approach helps reduce file size and simplify distribution, the samples inside aren’t immediately usable until you convert or compile them into the SF2 format. The benefits of this conversion process include:
- Ensured compatibility with MIDI-compatible music software
- Optimized playback through sampled instrument structures
- Preservation of data hierarchy including instrument-specific assignments
Let’s explore a step-by-step method for converting ZIP files into SF2 using trusted tools.
Step-by-Step Guide: How to Convert ZIP to SF2
Follow these essential steps to ensure a seamless conversion process:
Step 1: Extract the ZIP File
The first step is to unpack your ZIP file. Use a reliable extraction tool such as:
- WinRAR
- 7-Zip
- macOS Archive Utility
Upon extraction, inspect the contents. You should expect to see:
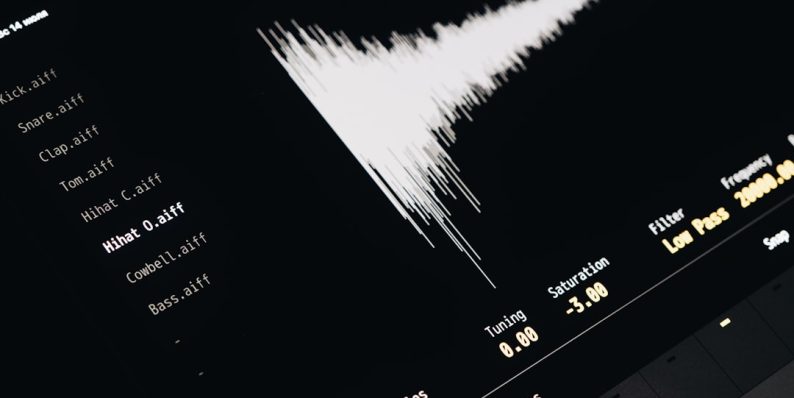
- WAV files or AIFF audio samples
- Text-based patch information or instrument mapping
- Occasionally, a folder structure representing instrument kits
Maintain this folder’s organization, as it will help during the mapping stage.
Step 2: Use a SoundFont Editor
You’ll need a specialized utility that can compile audio samples into a soundfont (.sf2) structure. Recommended tools include:
- Polyphone SoundFont Editor – available on Windows, macOS, and Linux
- Vienna SoundFont Studio – legacy tool from Creative Labs (Windows only)
We recommend Polyphone due to its up-to-date interface, wide compatibility, and ease of use.
Step 3: Create a New SoundFont Project
In your selected editor, start a new project:
- Open the program and select “Create New SoundFont.”
- Name it appropriately, perhaps based on the ZIP’s content (e.g., “VintageSynths.sf2”).
- Save the project file to avoid losing any progress later on.
Next, begin importing the audio samples into the editor.

Step 4: Import and Organize Samples
Navigate to the folder where you extracted your ZIP file and locate the audio samples. Use the editor’s ‘Sample’ tab to import them into your project. Ensure you:
- Exclude duplicate or corrupt files
- Label each sample clearly for ease of navigation
- Set root key and loop settings if applicable
If the ZIP file included notes on sample layout or MIDI mapping, now is the time to apply those settings systematically.
Step 5: Assign Samples to Instruments
Once the samples are imported, you’ll need to structure them into instruments. This involves:
- Creating one or more instruments in the “Instruments” section
- Assigning specific samples to specific key ranges or velocity layers
- Tuning and setting envelopes as necessary
This is the most time-consuming step, but it’s necessary for building a playable, expressive soundfont.
Step 6: Finalize and Export as SF2
After organizing your instruments and verifying sample assignments, export the file in SF2 format by selecting “Export” or “Save SoundFont As” in your editor. Some additional options may include:
- Compression settings
- Compatibility mode
- Metadata entry
The final SF2 file can now be used in popular programs like FL Studio, LMMS, Kontakt (via conversion), or even hardware synthesizers that support SF2 playback.
Tips for Successful Conversion
The conversion process involves more than just file management. Here are a few tips to ensure optimal results:
- Consistency – Stick to standardized naming conventions for samples and instruments
- Quality control – Avoid clipping, pops, or noise in your imported samples
- Documentation – If provided, use notes or mapping diagrams from the ZIP file to guide your sample distribution

Common Errors and How to Fix Them
Sometimes, novice users encounter problems during the conversion process. Below are some common issues and troubleshooting steps:
- Audio samples not recognized: Ensure all WAV or AIFF files are 16-bit or 24-bit PCM format. Some editors reject 32-bit float or non-standard formats.
- Out-of-range samples: Make sure you correctly assign root keys for each sample. Misalignment causes pitch and playback problems.
- No sound output: Double-check your final SF2 in a player to ensure all instrument zones have mapped samples.
Conclusion: From Compression to Composition
Converting ZIP to SF2 is more than a technical necessity—it’s an artistic gateway. By turning compressed sample archives into rich, playable instruments, you open up a world of creative potential. With careful organization, the right tools, and patient attention to detail, you’re not just extracting files—you’re building musical instruments tailored to your own vision.
Whether you’re making cinematic scores, electronic beats, or educational MIDI projects, mastering this conversion process gives you the freedom to expand your sonic palette. Keep your tools up to date, follow best practices, and your SF2 creations will serve as a reliable foundation for countless projects to come.
Start converting your libraries today, and transform raw samples into compositions that inspire.
- Antarvacna: A Journey Through Its Historical and Cultural Roots - February 12, 2026
- Laaster vs Traditional Cloud Solutions: Why Real‑Time Architecture Wins In 2026 - February 11, 2026
- Exclusive Quintessential England Travel Planner: London, Cotswolds & Hidden Gems - February 11, 2026
Where Should We Send
Your WordPress Deals & Discounts?
Subscribe to Our Newsletter and Get Your First Deal Delivered Instant to Your Email Inbox.


