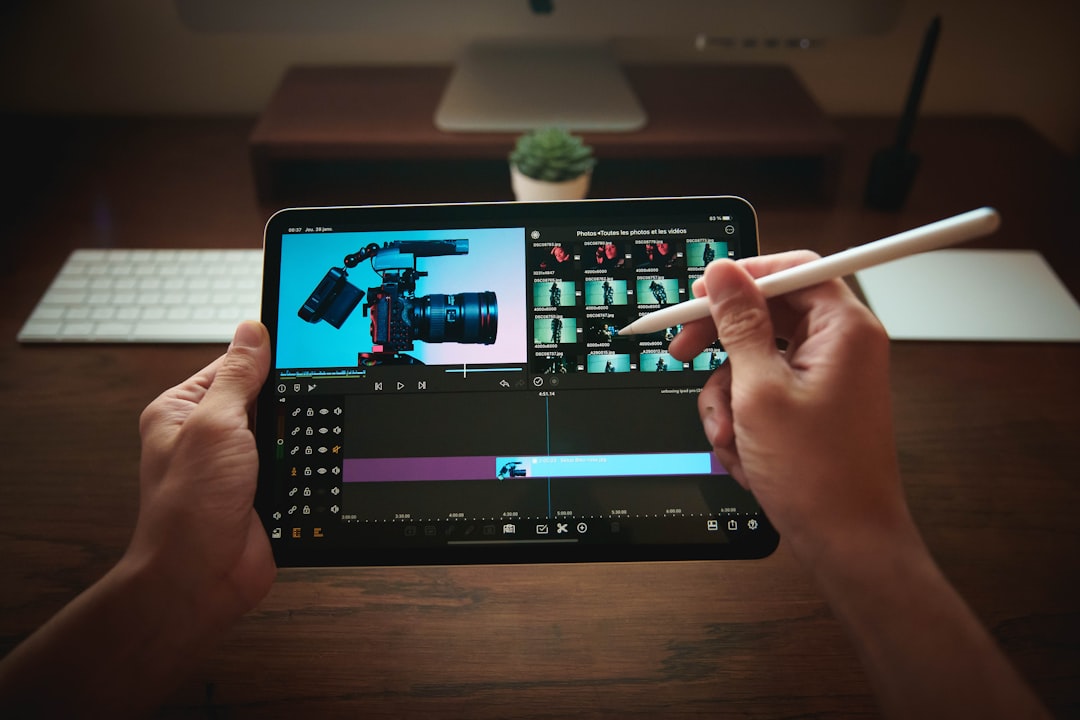
How to Blur Face on CapCut in 3 Easy Steps
With the ever-increasing use of video content on platforms like TikTok, Instagram, and YouTube, protecting privacy has become a top concern for content creators. Whether you’re vlogging in public or recording an event, you may run into situations where blurring someone’s face is both legally and ethically necessary. Fortunately, tools like CapCut make this process not only possible but also simple and efficient. In this guide, you’ll learn how to blur a face on CapCut in just three easy steps.
Step 1: Import Your Video and Add It to the Timeline
Begin by launching the CapCut app and importing the video clip you want to edit. Once imported, drag and drop your video onto the timeline so you can begin editing.
Here’s how:
- Open CapCut and tap on ‘New Project’.
- Select the video from your gallery and tap on ‘Add’.
- Your video will now appear in the editing timeline at the bottom of the screen.

Now that your video is ready, you can move on to identifying the face that needs blurring.
Step 2: Use the Overlay Feature to Track the Face
Because CapCut does not offer an automatic face detection blur as of now, the manual method using an overlay is your best option. This method involves placing a blur effect over the face and ensuring it follows the subject as they move.
Follow these steps:
- Tap on ‘Overlay’ at the bottom menu and then choose ‘Add Overlay’.
- Select the same video clip again to use it as an overlay.
- Once the overlay is added, crop and resize it to create a small box that covers the face you want to blur.
After you’ve isolated the face area, the next step is to add the blur effect.
Step 3: Apply the Blur Effect and Adjust Movement
You can apply the blur effect to the overlaid cropped clip by using CapCut’s filter or effect tools.
To do this:
- Select the overlay clip.
- In the ‘Basic’ category, choose the ‘Blur’ effect.
- Adjust the intensity of the blur according to your preference.
<liTap on ‘Effects’ from the bottom menu, then go to ‘Video Effects’.
To ensure the blur follows the face throughout the video, you will need to manually move the overlay along with the facial movements using the ‘Keyframe’ feature. This may take a bit of time but ensures a clean and accurate blur.
Use keyframes at each point where the face changes position. Click the keyframe icon, move the blur box to align with the face, and repeat this throughout the clip where needed.
Conclusion
Blurring a face on CapCut might seem daunting at first, but following these three easy steps can make the process straightforward and manageable. As CapCut continues to evolve, it’s likely more automation will be added, but for now, the overlay and keyframe method is your best bet for achieving privacy protection in your videos.
Frequently Asked Questions (FAQ)
-
Q: Can I blur multiple faces in one video on CapCut?
A: Yes, you can add multiple overlays with blur effects and use keyframes separately for each face to track them. -
Q: Does CapCut offer automatic face recognition for blurring?
A: Currently, CapCut does not have automatic face detection for blurring; manual editing is required using overlays and keyframes. -
Q: Is it possible to make the blur more intense?
A: Yes, you can adjust the blur intensity in the effect settings to make it more pixelated or blurred, depending on your needs. -
Q: Can I blur a moving face in a fast-paced video?
A: Yes, but it will require more frequent keyframes to ensure the blur box stays accurately aligned with the face. -
Q: Will my original video be lost after editing in CapCut?
A: No, CapCut does not overwrite the original file. You’ll save the edited version as a new project.
- Remote Desktop Error 0x204 Explained: Why It Happens and How to Fix RDP Connection Issues on Windows - February 17, 2026
- How to Fix “Error at Hooking API LoadStringA” in Rainbow Six Siege (Easy Anti-Cheat Solutions) - February 17, 2026
- Top 5 Underrated CRM Tools Agencies Prefer Over HubSpot for Lean Client Management - February 17, 2026
Where Should We Send
Your WordPress Deals & Discounts?
Subscribe to Our Newsletter and Get Your First Deal Delivered Instant to Your Email Inbox.


