How to Fix DAC Audio Issues on Windows 11 in 2025
So, you’re trying to enjoy some crystal-clear tunes with your fancy DAC on Windows 11, but instead, you’re hearing nothing… or worse, static! Don’t panic. Let’s walk through this mess together—one fun and simple step at a time. 🛠️🎧
What Is a DAC Anyway?
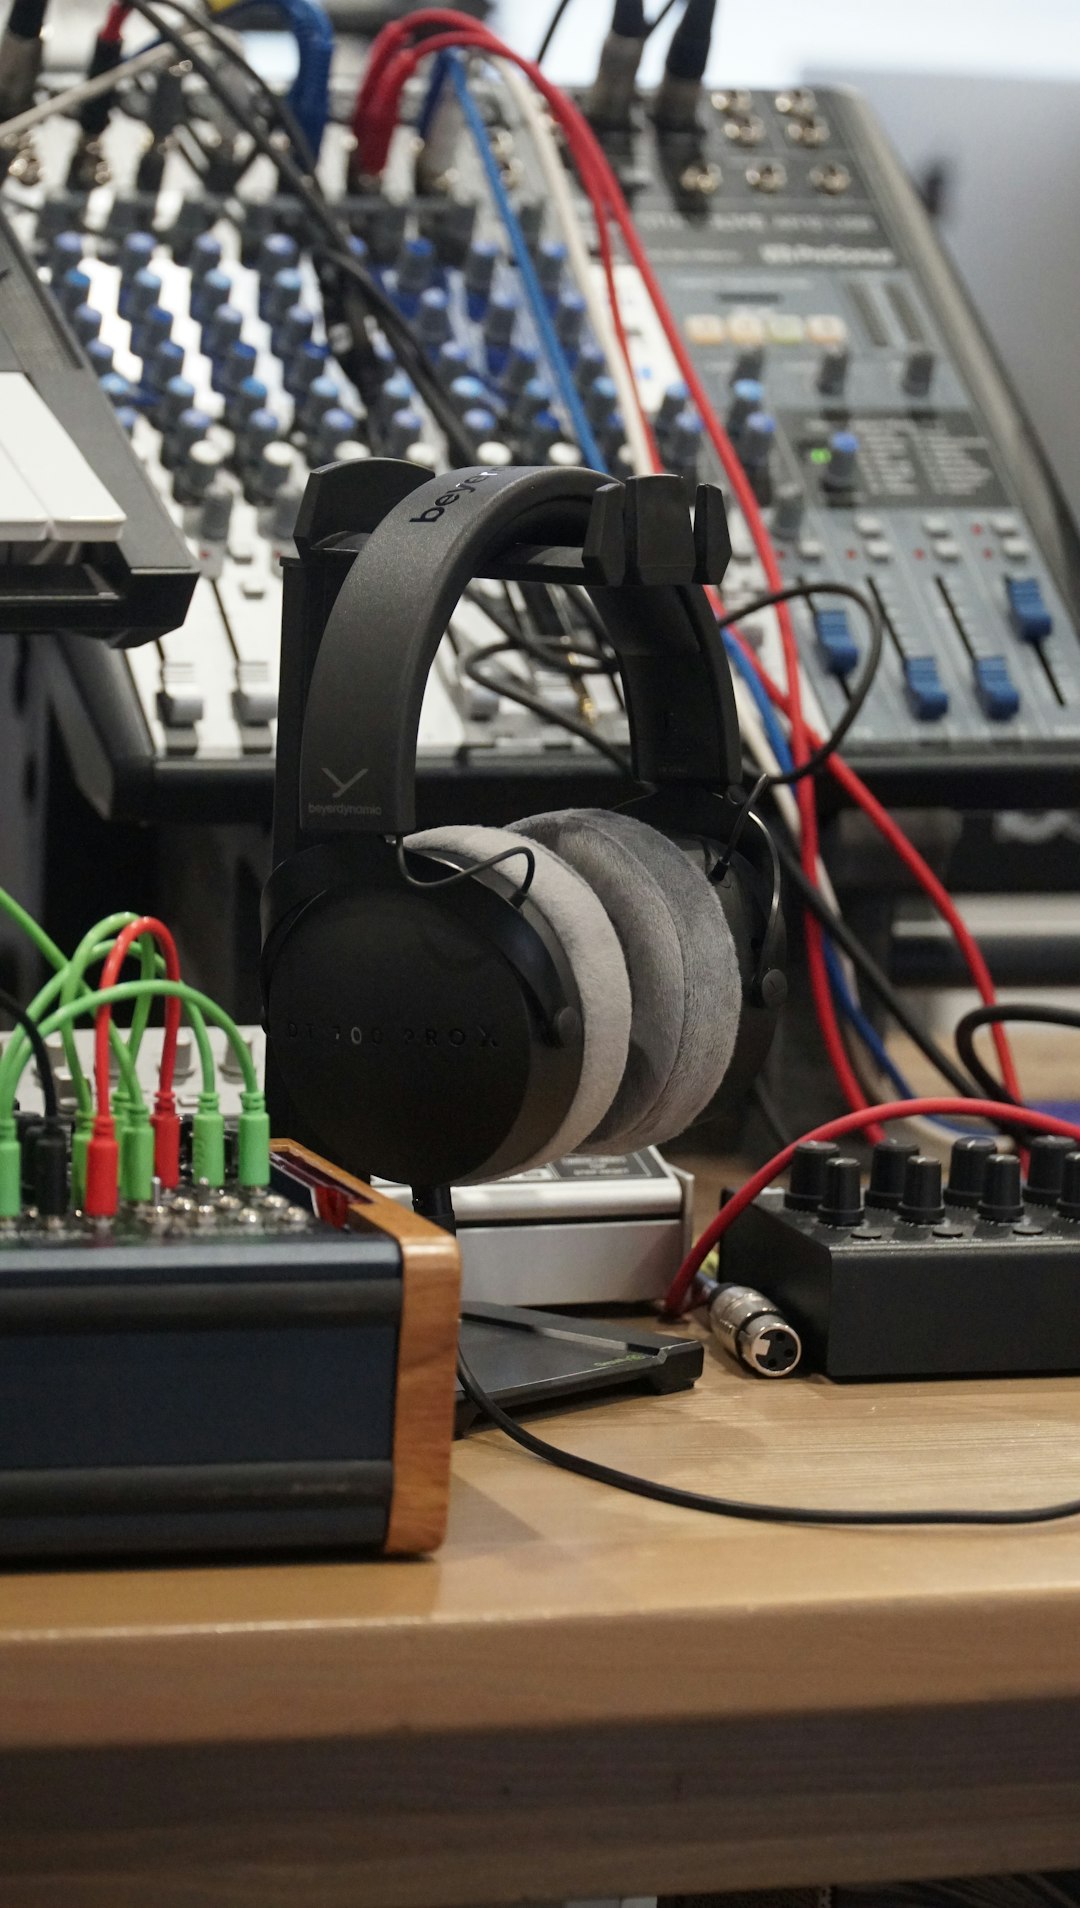
A DAC, or Digital-to-Analog Converter, is a little device that turns digital audio into the analog sound your ears crave. Many audiophiles use external DACs for better sound quality compared to their PC’s built-in sound card.
But sometimes Windows 11 and your DAC don’t want to be friends. Let’s fix that!
Step 1: Check the Basics First
This sounds obvious, but start here:
- Is your DAC plugged in properly? Try switching USB ports.
- Turn it off and on again. Seriously, don’t skip this.
- Try a different USB cable. That cable might be the villain here.
Still no luck? Time to dig deeper.
Step 2: Set DAC as Default
Windows might be sending sound to the wrong place. Here’s how to route it right:
- Right-click the Sound icon in the taskbar.
- Click on Sound settings.
- Under Output, select your DAC from the list.
Test the sound. Better? If not, keep going!
Step 3: Install or Update Drivers
While many DACs are plug-and-play, some need special drivers to truly shine.
- Check the manufacturer’s website for the latest drivers.
- Download and install them.
- Restart your computer.
Driver updates often fix weird glitches!
Step 4: Tweak Audio Format
Sometimes Windows defaults to an audio format your DAC can’t handle.
Try this:
- Open Sound settings.
- Click More sound settings (it’s at the bottom).
- Choose your DAC under Playback, and click Properties.
- Open the Advanced tab.
- Test a few different sample rates, like 24-bit, 48000 Hz.
Don’t forget to press Apply and give each setting a try with your favorite song.
Step 5: Disable Exclusive Mode
Some apps can hog the DAC like a sound-hungry gremlin. Here’s how to fix that:
- Go back to your DAC Properties in Sound settings.
- On the Advanced tab, find Exclusive Mode.
- Uncheck both boxes under that section.
- Click Apply and OK.
This lets multiple apps use the DAC without chaos.
Step 6: Try a Different Player or App
Sometimes the problem isn’t the DAC… it’s the app.
Try these:
- Use a different music player like Foobar2000 or MusicBee.
- Close resource-hog apps like Chrome when testing audio.
If one player works and another doesn’t, it’s app trouble—not hardware.
Step 7: USB Power Settings
Windows 11 can get too smart and tries to “save power,” sometimes messing with USB devices.
To fix it:
- Go to Device Manager.
- Expand Universal Serial Bus controllers.
- Right-click your DAC’s USB Root Hub, then click Properties.
- Under Power Management, uncheck the box that says “Allow the computer to turn off this device to save power.”
Your DAC deserves full power, all the time!
Still No Sound?
If you’ve tried it all and you’re still stuck, try these final tips:
- Test the DAC on another computer. If it works there, your PC is the problem.
- Boot into Safe Mode and see if it works there—this can rule out software conflicts.
- Consider restoring Windows to an earlier point before the issue started.
You’ve Got Music Again!
Fixing DAC audio issues on Windows 11 doesn’t need to be a horror story. A few smart steps can bring back the beautiful sound you deserve.
Now kick back, relax and listen to those smooth hi-res beats. 🎶 You did it!
- How to Fix Error 1005 Access Denied (Cloudflare Fix Guide) - February 22, 2026
- SOS in Morse Code: What It Means and How to Use It - February 22, 2026
- How to Fix “To Try Again Enter A1B2C3 Below” Error - February 21, 2026
Where Should We Send
Your WordPress Deals & Discounts?
Subscribe to Our Newsletter and Get Your First Deal Delivered Instant to Your Email Inbox.

