
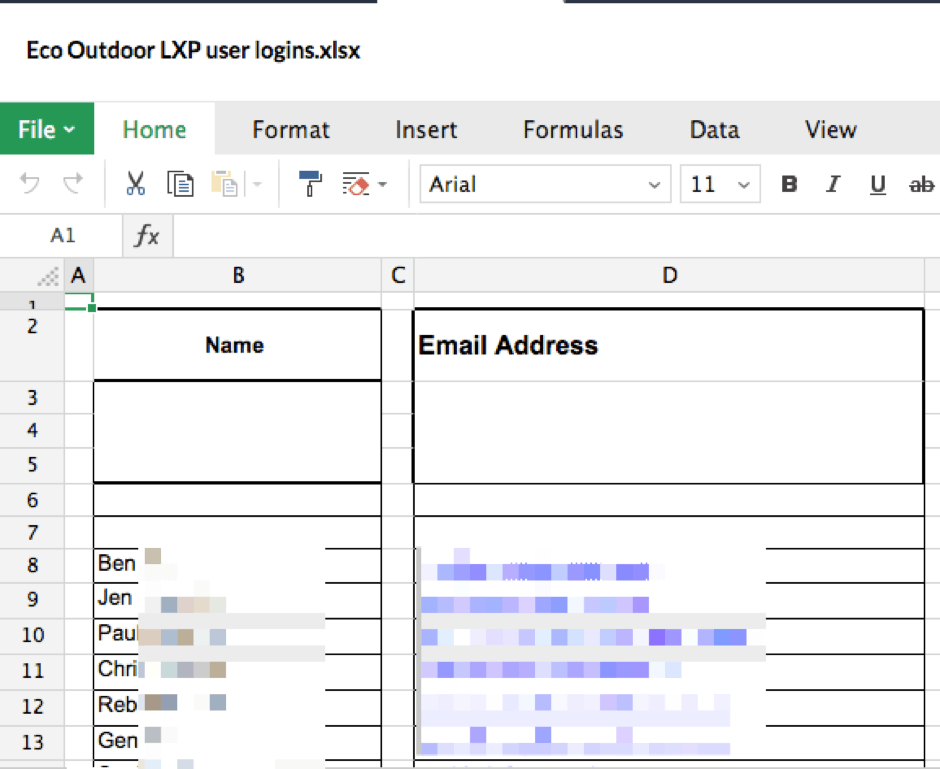
Recently, I had to import a number of users into a WordPress HR portal on behalf of a client. The spreadsheet I received from the client included the emails and full names of the staff who were to be granted access to the LearnDash platform.

Note: for this to work you will need a copy of Microsoft Excel – I am doing this on a Mac – however, I am sure most of these operations will be doable from Google Sheets also.
So I went and searched among plugins for a solution that will save me time while still getting everything done.
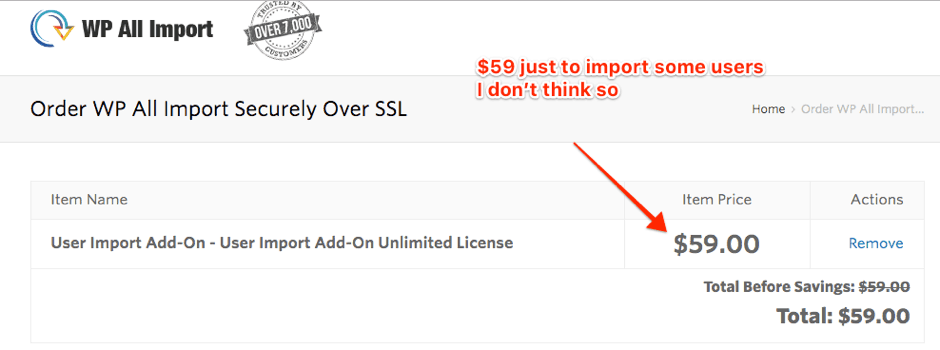
WP All Import – User Import Add-On Is Not Worth It
As a big fan of WP All Import Pro – I have to say their User Import add-on – which is priced at $59 is just not worth it to import users. So I went and started exploring for a free plugin that would allow me to do what I needed to do.

Keep in mind I not only had to import the users and add them as Subscribers – but I also had to generate passwords for all the users and send a spreadsheet back to the client with the logins for each user.
Import Users from CSV with meta to the rescue
The plugin ‘Import Users from CSV with Meta to the Rescue’ is the best plugin I could find for my needs. There were some other options also when I searched but this was the first result that came up when I searched for ‘import users’ in plugins. It also has the most reviews (30,000+) so it’s a common-sense solution.

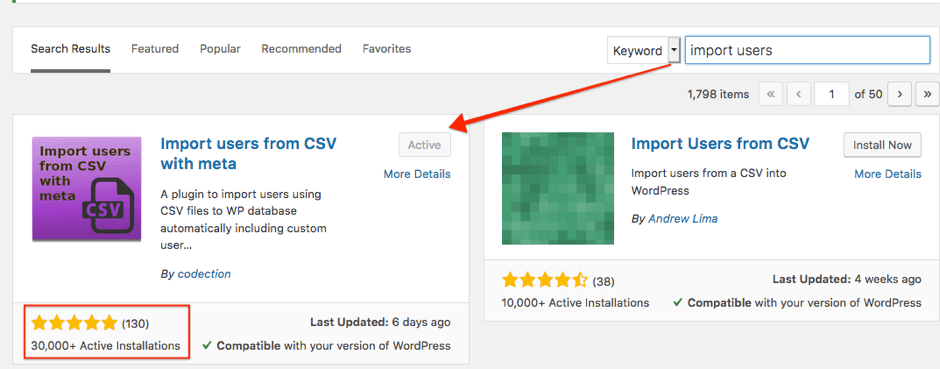
Caption: Import users from CSV with meta is the logical option for importing users into your WordPress site for free – now let’s look at the issues that may come up.
After installing it though there are a number of issues I faced that I’d like to address in this blog – as well as give you an outline of how to do this correctly.
Note: this is set up as a case study on how to send a client a user list – whether this is employee list, editor list or just a subscriber list. Let’s get started!
Concatenating First Names and Last Names
Most times a client will give you a list of names for importing into the site – and it will usually have a column of names in a column as so:
Marley Adams
Nancy Drew
Michael Ashdon
Sheldon Graves
What is the issue with this list?
They are two words separated by a space – and we all know the best use case is having usernames be one word. So the first thing we need to do is concatenate these into a new column called username.
This is actually really easy – if all the names are in a single column you just need to do a find & replace to replace the space with nothing. In the video below I create a new column called ‘Username’, copy/paste the full names and then remove the spaces – now I have valid usernames!
A list with First/Last names in separate columns, and how to fix it

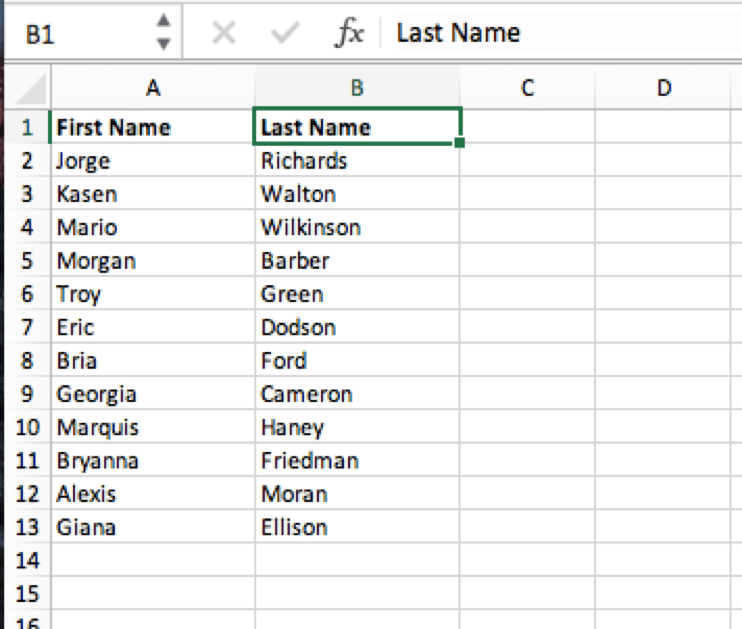
So how do we turn these into usernames? Keep in mind that you don’t want to just create usernames off someone from the first name field because you can end up with double-ups from two people named ‘John’ for example. Nor do you want to use the last name because you may have two brothers working in a company (founders, etc.).
In order to solve this simply use the CONCAT function in the third column as so:
=CONCAT(A2,B2)
With A2 being the first name and B2 being the second name – then click on the black box in the bottom right to fill in the rest of the series.
Finally – what I like to do is copy and paste the text again as values so that they’re not dependent on formulas – the video below outlines everything:
Note: you may find when you concatenate that the username will have spaces – this is most likely because the source cell First Name has space at the end – to solve this problem simply highlight all the source cells and do a Find & Replace and remove the spaces.
So now you should have a cell for username – the next step is to create a column for the Role.
Generating the Password
Many times the client will require a list of usernames & passwords – that the client can then send to the appropriate people as required – remember – clients always like control. So how do we send a client a list of username/passwords?
Well in order to generate a spreadsheet of the usernames and matching passwords to send to the client, you first have to create the passwords to import using our ‘Import Users from CSV with meta’ plugin.
However, how do we generate the passwords for all the users?
Sure we could manually type in a random password for each user – but this is going to be difficult if there are 50 or more users the client would like you to import.
The answer to this is another very handy Excel function.
=CHAR(RANDBETWEEN(65,90))&CHAR(RANDBETWEEN(65,90))&RANDBETWEEN(100,999)&CHAR(RANDBETWEEN(65,90))&RANDBETWEEN(100,999)&CHAR(RANDBETWEEN(65,90))
The function above will create a random string of characters. Once this is done simply copy the passwords and then paste them as values as otherwise, the function will generate random characters every time you do something to your Excel spreadsheet. The video guide is below:
Caption: note that you have to paste the formulas as values otherwise the passwords change every time you edit any cell in Excel.
So now we have a list of passwords.
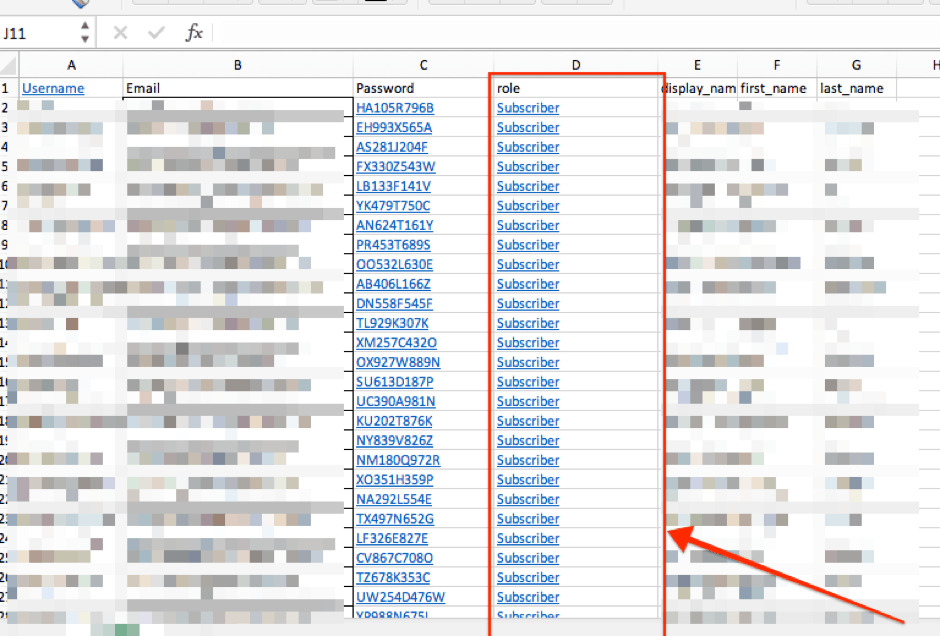
Subscriber type
The free plugin also allows you to select the subscriber type (or role) in the ‘role’ column – in my case I have imported the users as ‘Subscriber’ however you can also import users in the following roles
Subscriber – good user access if you want to allow the user access to certain parts of the site but don’t want them editing anything. I used this role to allow users access to certain LearnDash LMS courses.
Contributor – the user can publish/update their own posts
Editor – can edit, delete, create posts AND pages
Administrator – you really shouldn’t be giving anyone access to this other than yourself. If you do watch out because the Admin has access to everything!
Simply create a Role column and then enter the role you would like for each user:

Finally, Time to import
If you have the Username/Password and Role column you can technically start importing.
- Make sure to save your Excel file (Save As) as CSV
- Go to Tools > Import Users from CSV in WordPress dashboard after installing the plugin
- Select your CSV file that you’ve just saved
- Make sure Default Role ‘Subscriber’ default checkbox is unchecked
- Leave everything else as it is and click on ‘Start Importing’
Final Note of Caution
Once you finish your import you will get a status report of imports including anywhere you had an issue with. One thing to note is that if you already have a user with a particular email address in the system you won’t be able to update their username. So if you get any warnings, try and log in with your details and if you are unable to just adjust the username in your spreadsheet to what is already in WordPress.
Once you test that the imports with the warnings are working, simply send the client the list!