
Light on Photos: Photography Lighting Techniques
Photography is about capturing light. Regardless of your subject or style, the way you control and use light defines the emotion, clarity, and quality of your images. Mastering lighting techniques is essential for anyone wanting to elevate their photography skills, from beginners experimenting with smartphone cameras to professionals working in studios or on location.
TL;DR: Lighting is one of the most critical components in photography. Understanding how to shape and apply it can dramatically improve your photos. From natural light to controlled studio setups, each lighting condition offers creative opportunities and challenges. This article explores key lighting techniques every photographer should know to achieve professional results.
Understanding the Importance of Light in Photography
In photography, light is more than just a tool—it is the very medium of the image itself. Without light, there is no photograph. The interplay between light and shadow creates depth, texture, and dimension. A photo taken in different lighting conditions can evoke completely different emotions.
There are two primary light sources:
- Natural Light – Provided by the sun or moon; it’s free and available but not always consistent.
- Artificial Light – Includes light from strobes, LEDs, lamps, and flashes; generally more controllable and uniform.
Types of Lighting in Photography
Different types of lighting serve different purposes depending on the mood and structure of your shot. Here are some commonly used lighting types:
- Front Lighting – The light source comes from directly in front of the subject. It reduces shadows but can make the image look flat.
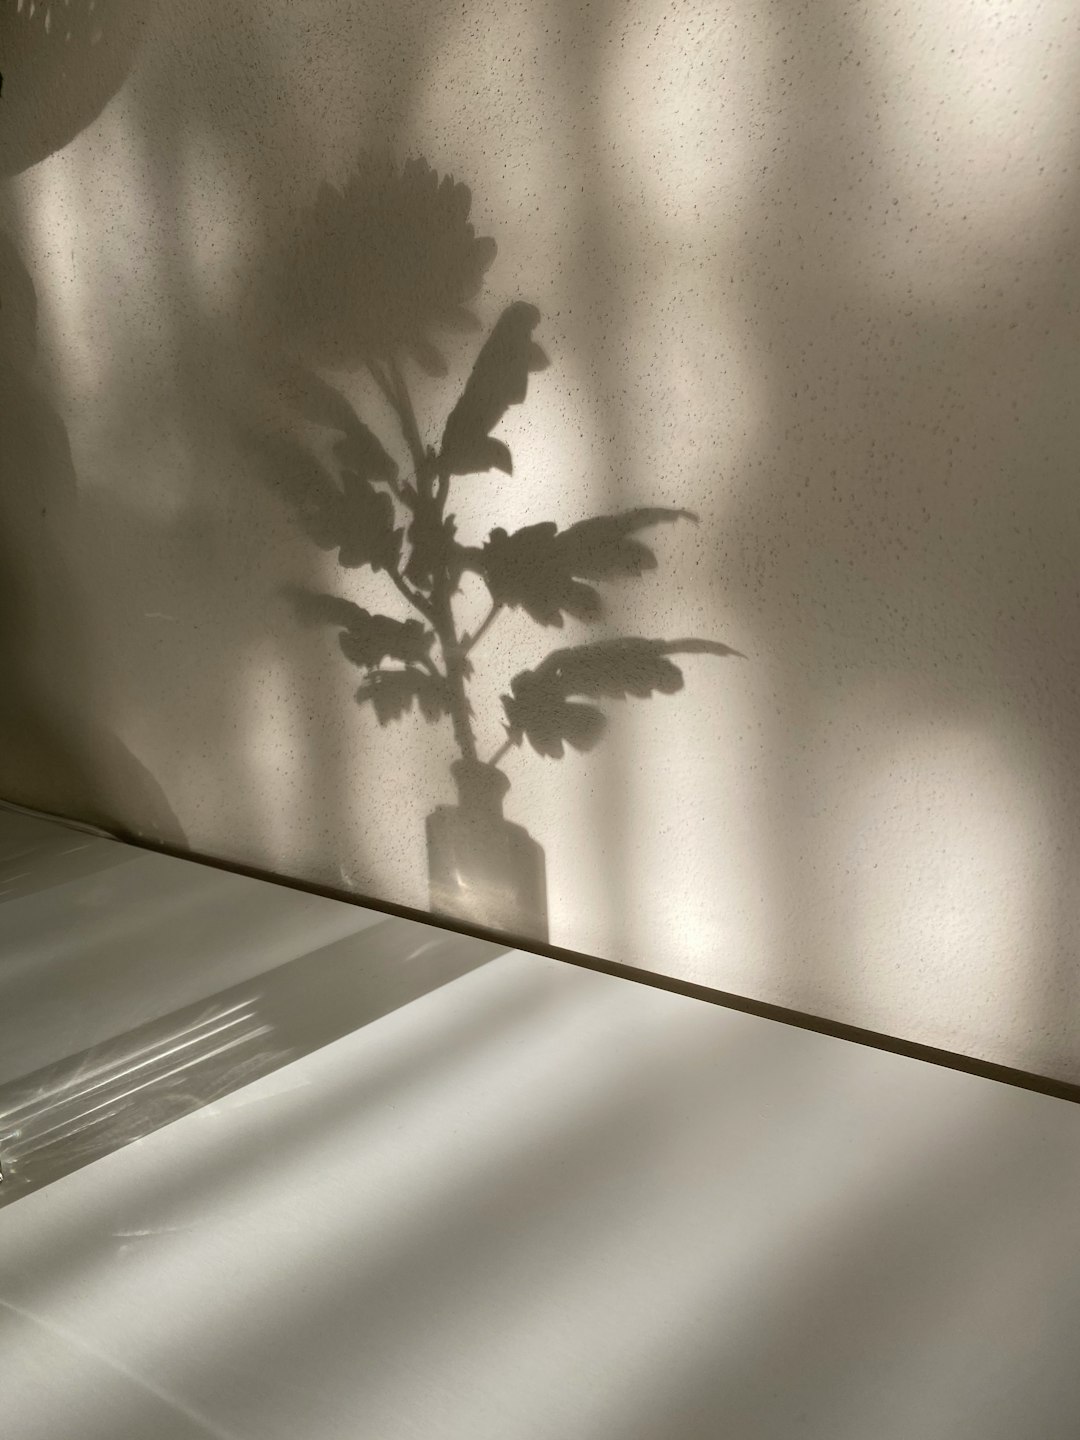
- Side Lighting – Light placed to the side of the subject enhances texture and adds drama by emphasizing shadows.
- Back Lighting – When light comes from behind the subject, creating silhouettes or glowing outlines known as rim lighting.
- Top Lighting – Light from above, sometimes flat-looking, but it can be effective for moody or dramatic portraits.
- Rembrandt Lighting – A classic portrait technique that uses one light and often a reflector to create a triangle of light on the cheek opposite the light source.
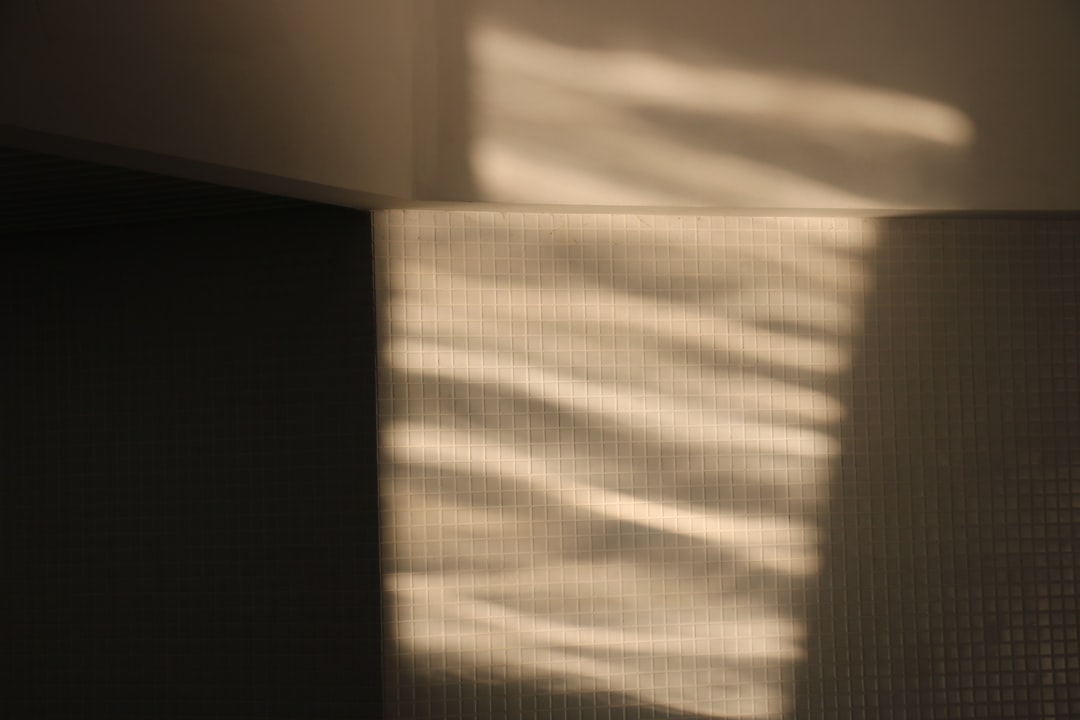
Using Natural Light Effectively
Natural light is available everywhere and changes throughout the day, offering a range of tones and moods. Learning how to work with natural light is foundational to any photographer’s skillset.
Key tips for natural light photography:
- Shoot During Golden Hour – Occurs just after sunrise and before sunset, yielding soft, warm, directional light that’s ideal for portraits and landscapes.
- Utilize Overcast Days – Cloud cover acts as a natural diffuser, providing soft, even light that minimizes harsh shadows.
- Use Reflectors – In situations with uneven or low light, reflectors bounce light back onto the subject, filling in shadows.
- Mind the Direction – Always be aware of where the light is coming from and how it interacts with your subject. Changing your subject’s position relative to the light can completely transform the image.
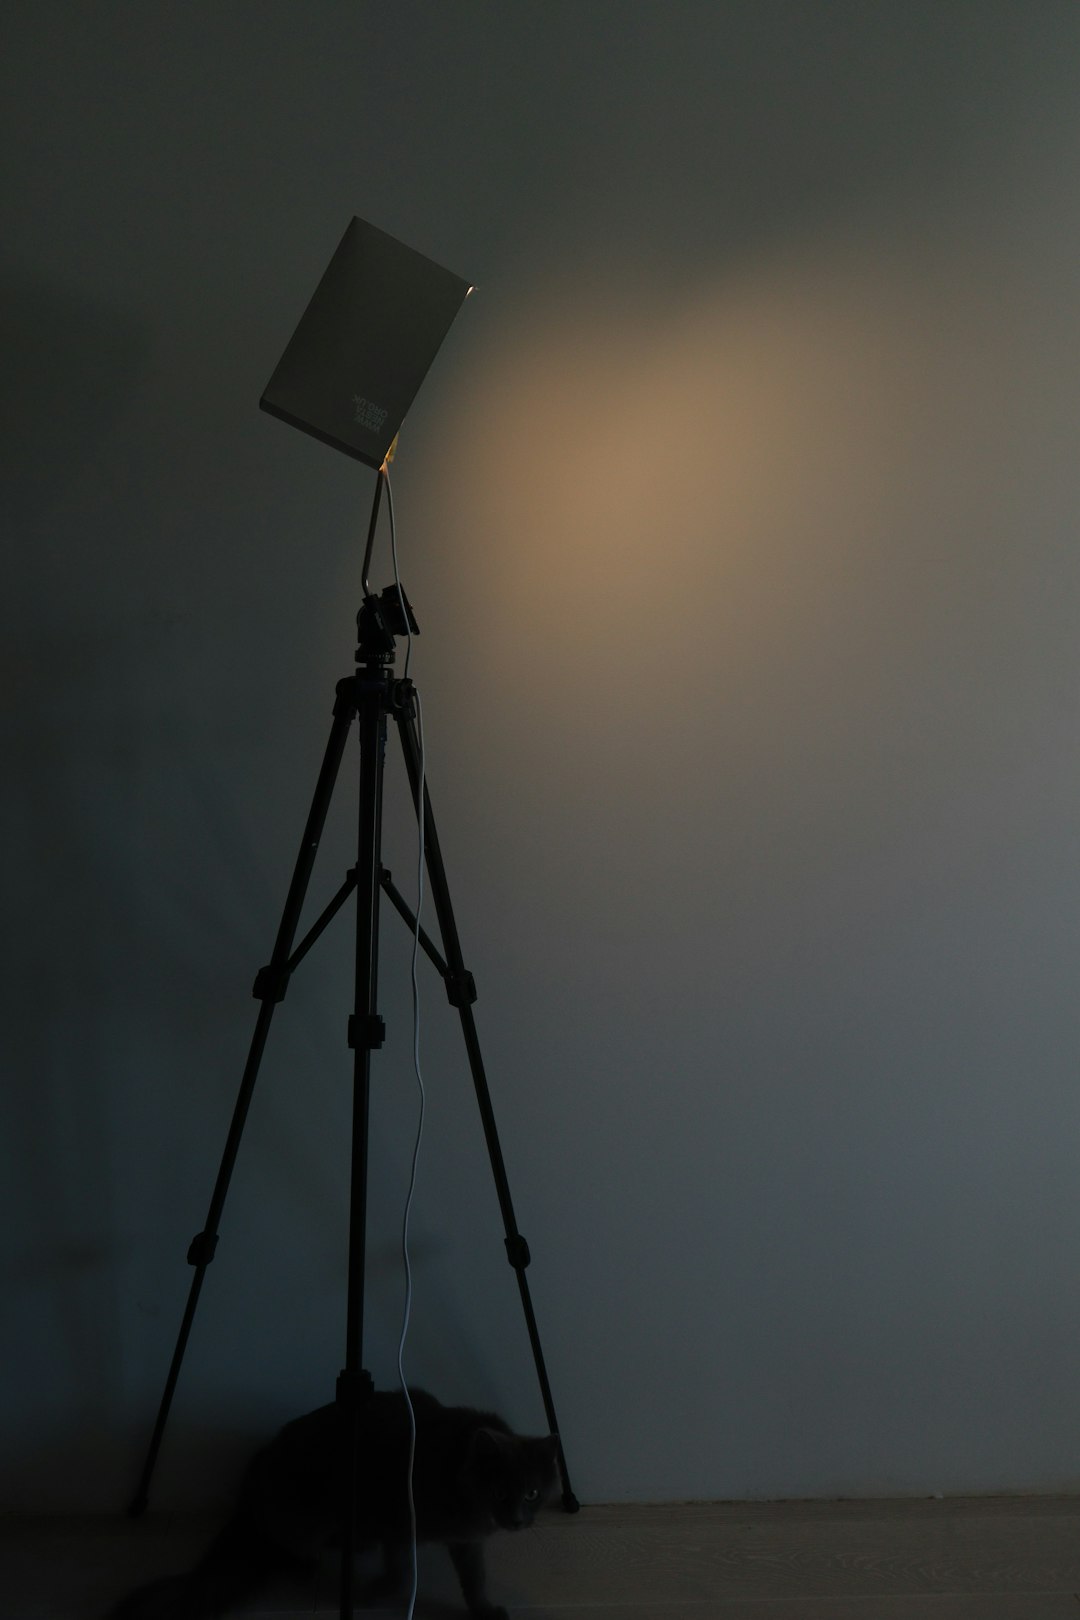
Artificial Lighting: Studio and On-Location
While natural light can be beautiful, it is not always predictable or sufficient. Artificial lighting allows photographers to have complete control over exposure and direction.
There are several types of artificial lights commonly used in photography:
- Speedlights (Flashes) – Portable and relatively affordable; they can be mounted on or off-camera.
- Strobes (Monolights) – More powerful and capable of freezing fast movement; popular in studio setups.
- LED Panels – Continuously lit sources that are useful for both photo and video. They are energy-efficient and help you see the lighting effect in real time.
Useful modifiers and accessories:
- Softboxes – Diffuse the light for soft, pleasing shadows.
- Umbrellas – Inexpensive and efficient at broad diffusion.
- Beauty Dishes – Create a focused yet soft wraparound light, often used in portrait photography.
- Grids and Gels – Allow you to control light spread and color balance for creative effects.
Lighting Ratios and Exposure Control
Understanding lighting ratios is crucial to controlling contrast in your image. The lighting ratio refers to the relationship in intensity between the key (main) light and the fill light.
- 1:1 Ratio – Key and fill lights are equal; results in flat lighting with minimal shadows.
- 2:1 or 3:1 Ratio – Slight shadow presence; offers balanced depth and dimension.
- High Ratios (e.g., 8:1) – Creates dramatic lighting with much higher contrast, ideal for moody or cinematic imagery.
Always balance your light setup with appropriate camera settings including ISO, aperture, and shutter speed. For consistent results, consider using a light meter or shooting tethered to a monitor for real-time exposure feedback.
Practical Lighting Setups for Different Photography Styles
Different genres of photography call for distinct lighting setups. Below are a few examples:
Portrait Photography
Portraits benefit from soft, directional lighting that flatters facial features and minimizes harsh lines.
- One-Light Setup – Use a key light with a softbox at a 45-degree angle to the subject’s face for dimensional portraits.
- Two-Light Setup – Add a fill light at reduced power on the opposite side or use a reflector to bring out detail in shadows.
Product Photography
Requires even lighting to highlight shape, texture, and color accuracy. Diffused softboxes or light tents are commonly used.
Landscape Photography
Heavily dependent on natural light. Early morning and twilight hours present ideal light conditions; using neutral density filters helps in managing exposure during daylight long exposures.
Event Photography
Often a mix of ambient and flash lighting is used. Bounce flash techniques and high ISO sensitivity are common methods for retaining natural atmosphere without overexposing subjects.
Common Lighting Mistakes and How to Avoid Them
Even experienced photographers make lighting mistakes. Here are a few common pitfalls:
- Overexposed Highlights – Use histograms and highlight warnings to prevent loss of detail.
- Unintentional Color Casts – Correct white balance or use color correction gels over light sources.
- Flat Lighting – Introduce shadows and depth by adjusting light angles or using modifiers.
- Ignoring Background Shadows – Pay close attention to where the light falls beyond your subject. Use flags or reposition lights as necessary.
Conclusion: The Art and Science of Lighting
Lighting in photography combines equal parts technical understanding and creative vision. Learning to navigate between natural and artificial light, mastering modifiers, and comprehending light ratios equips photographers with the ability to create deliberate, compelling images in any situation.
By refining your lighting techniques, you’ll not only improve image quality but also develop your own visual language. In photography, light is not merely illumination—it’s storytelling.

- HP Laptop Won’t Turn On After RAM Upgrade? 7 Fixes to Get Your HP Laptop Booting Again - February 18, 2026
- Remote Desktop Error 0x204 Explained: Why It Happens and How to Fix RDP Connection Issues on Windows - February 17, 2026
- How to Fix “Error at Hooking API LoadStringA” in Rainbow Six Siege (Easy Anti-Cheat Solutions) - February 17, 2026
Where Should We Send
Your WordPress Deals & Discounts?
Subscribe to Our Newsletter and Get Your First Deal Delivered Instant to Your Email Inbox.


