

A good checkout page can increase your conversion rates and, with that, your revenue, of course. When you are running an eCommerce website, having your customers finalize the purchase is the main goal.
The default checkout pages that you are provided with by various eCommerce plugins, including WooCommerce, sometimes might not be the perfect solution for your business. In those situations, the most logical thing to do is to customize the checkout page. Thankfully you have an abundance of plugins on the market, allowing you to do so.
In this article, we will review one of the most popular ones, one that was a category leader in the list of best WooCommerce extensions and plugins for WordPress in 2019, the WooCommerce Checkout Manager plugin.
What does it do?
In some cases, you might require more information from your customers, about them, about the ordered product, about the shipping, or the information you require can’t be inserted through the already existing fields. Whatever the case might be, that information needs to be submitted in the database in an organized manner. This is done by adding new fields with appropriate labels and field types in a specific section, through which your customers can provide you with the necessary information. The WooCommerce Checkout Manager plugin lets you add custom fields to your checkout page, customize and manage those and existing fields with ease.

With WooCommerce Checkout Manager, you can arrange your new custom fields and already existing ones to your desired preferences. Depending on the role a specific user holds, you are able to show or hide any fields in the checkout, billing, or shipping section. If you want to have fields hide or appear “on their own,” only when a certain condition is met, in that case, you can resort the using conditional fields available in the WooCommerce Checkout Manager plugin.
Similarly, to how the conditional fields work, you can make specific fields appear or disappear based on the product or the product category. For example, if you are in the business of selling virtual goods, which are, in most cases, distributed via email, there is no need for the shipping address section to be on display. It can confuse your customers when they see it or if they do fill it in, and the only thing it will be doing is retaining unnecessary information.
If there is a need for uploading files in the purchase or order section, using this plugin, the uploaded files can be managed in order by both the customer and admin. All the other data submitted in the fields by the customers can be exported or imported if necessary.
WooCommerce Checkout Manager allows you to customize the fields and their names by inserting your own CSS and even HTML in the label for the field. When it comes to the field types, you have 15 types to choose from, those being, text, text area, password radio, checkbox, select, country, state, multi-select, multi checkbox, heading, color picker, and file uploader.
With this plugin, the entire checkout page can be set to a specific state, and the navigation pattern your customers make while moving through the checkout page can be retained and analyzed as well. If you want to make sure your customer has doublechecked important information that they submitted, you can insert notices above the desired field. This way, you are doing your best to get the customers’ attention and avoid any possible mistakes on their part.
The WooCommerce Checkout Manager will make the entire order process easier for both you and your customers. The customer will have a clearer order form to fill out, not leaving any room for confusion when the customer is filling the for out. It will help you to manage the orders better since it enables you to export and, in an ordered format, all the data you received from your customers.
How to install the plugin?
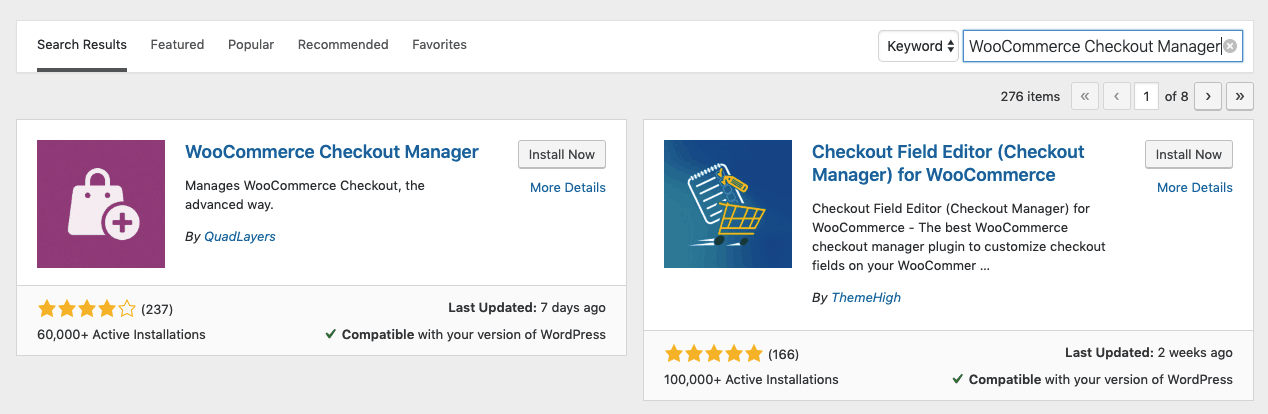
If you have ever installed a WordPress plugin before (and even if you haven’t), installing the WooCommerce Checkout Manager one won’t be challenging at all. The plugin can be installed to your WordPress site using three following methods:
Through the admin panel
To install this plugin through the admin panel, you, of course, have to download the plugin file first. After you have downloaded it, go to your WordPress admin panel and into the plugin section. There you will upload the plugin file and click install. To get the plugin up and running, the last thing you need to do is activate it, and you are good to go. More on the activation in just a bit.

Network
To activate the plugin on a network of sites, the process is almost exactly the same as the first one. The only difference is that instead of yousite.com/wp-admin (“yoursite.com” is where you will put your site’s name), you will go to yousite.com/network/wp-admin. The rest of the process is the same.
FTP
To install the plugin through FTP will require you to have an FTP client installed on your PC. The client, of course, has to have the authorization to connect to the server.
So after you have downloaded the zip file, unzip it and upload it to wp-admin/plugins/ using the FTP client. After you have done that, just activate the plugin through the admin panel.
Activation of the plugin
To activate your WooCommerce Checkout Manager, go to WooCommerce/Checkout/Licenses in your WordPress dashboard. There you will be asked to insert the license key and activation email. You will also need to activate the plugin on your Quadlayers account using the already mentioned license key and activation email.
How to use it?
Now that you know about all the possible things you can do with this plugin in order to customize your checkout page, it’s only fair we teach you how to do so.
The checkout section
The checkout page section of this plugin contains the following settings, force shipping address and force create an account. These two settings will allow you to completely hide the shipping address and create an account field or force your customer to fill them out.


In this section, you can also remove the order notes and add custom messages, either before or after the checkout form.
Adding fields
While this plugin has an abundance of features you can incorporate into your checkout page, the most important one is the possibility to add new custom fields. The new custom fields can be added to the billing, shipping, and additional fields section.
To add a new field through this plugin, you should first go to the plugin on your WordPress dashboard and into the section your desire to add new fields too. For example, WooCommerce/Checkout/Shipping. After that, click on the “add a new field” option and fill in the label and place holder for the new field. Choose the type you want your field to be.


For the multiple option field types (select, radio, multi-select, multi checkbox), you will also have to define what the available options will be. This is done in the options tab.
Removing fields
Removing a field is easy as one-two-three thanks to the disable button, which you just need to set to “on” or “off” in order to make a field disappear. Removing a filed for a specific product or product category is done in the “edit field” window. The “edit field” window is where you define for which specific product/product category you will show or hide the field. Here is also where you can hide specific fields for specific user roles.
Reordering
Reordering of the new and already existing fields is done using the drag and drop method. The position of the field in the list of fields is changed by pressing with the mouse on the left-hand side of the field and dragging it to the desired position.
The additional fields can be repositioned through the “additional fields” tab individually, using the above-described drag and drop method, or in bulk, by choosing one of the following options, before billing form, after billing form, before order notes, and after order notes.
Conditional fields
Conditional fields work on a child-parent principle, meaning that for a field to be a conditional field, you first need to define a parent field for it. The value of the parent field will determine when the child field will be displayed.
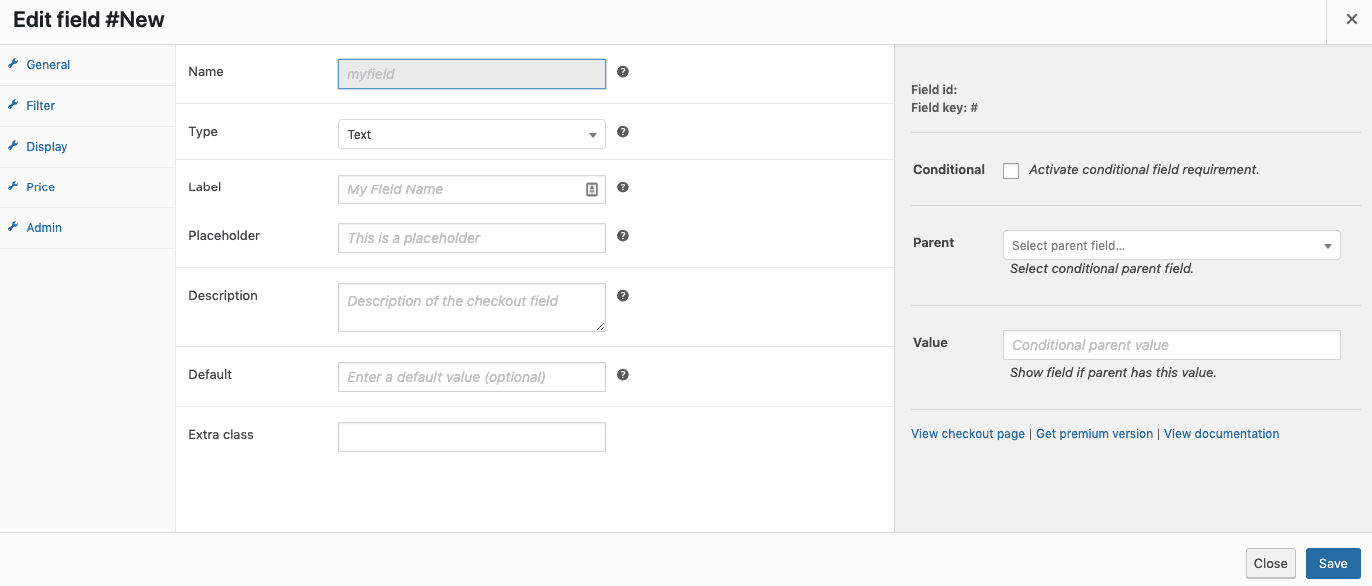

When defining the parent field and choosing which value will trigger the appearance of the child field, the WooCommerce Checkout Manager plugin will automatically gather all the possible options for the parent field value so you can simply choose one from the dropdown list to be the trigger.
Order page
Using this plugin, you can display the values that your customer put in the fields during the purchase process on the received order or thank you page. This is done through the add custom field option.
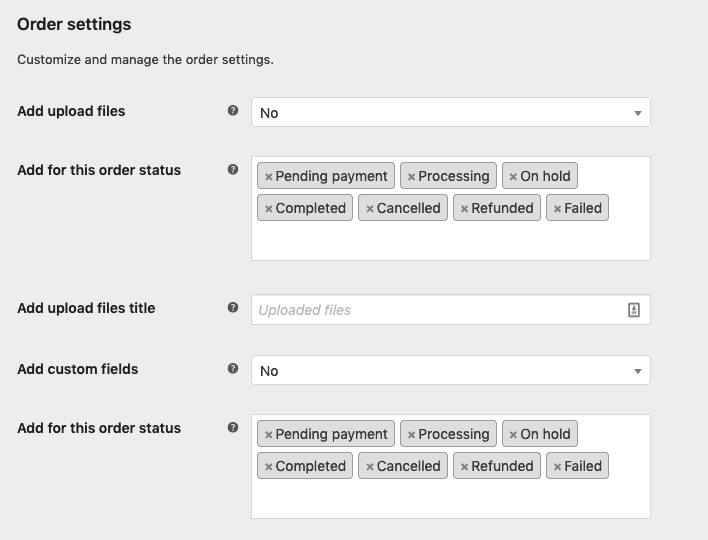

Another available option is to enable your customers to upload and manage uploaded files on the order page. Both of these options (displaying the values and uploading files) can be activated for specific order statuses like processing, on hold, completed and etc..
Emails
Custom fields can also be added in the email section for specific order statues, just as we described in the “order page” paragraph.
Uploads
We already mentioned that files could be uploaded in the order section, but they can also be uploaded during the purchase process. The manager of the eCommerce site handles the files through the admin dashboard while the customer handles them in their “my account” page.
Plugin pricing
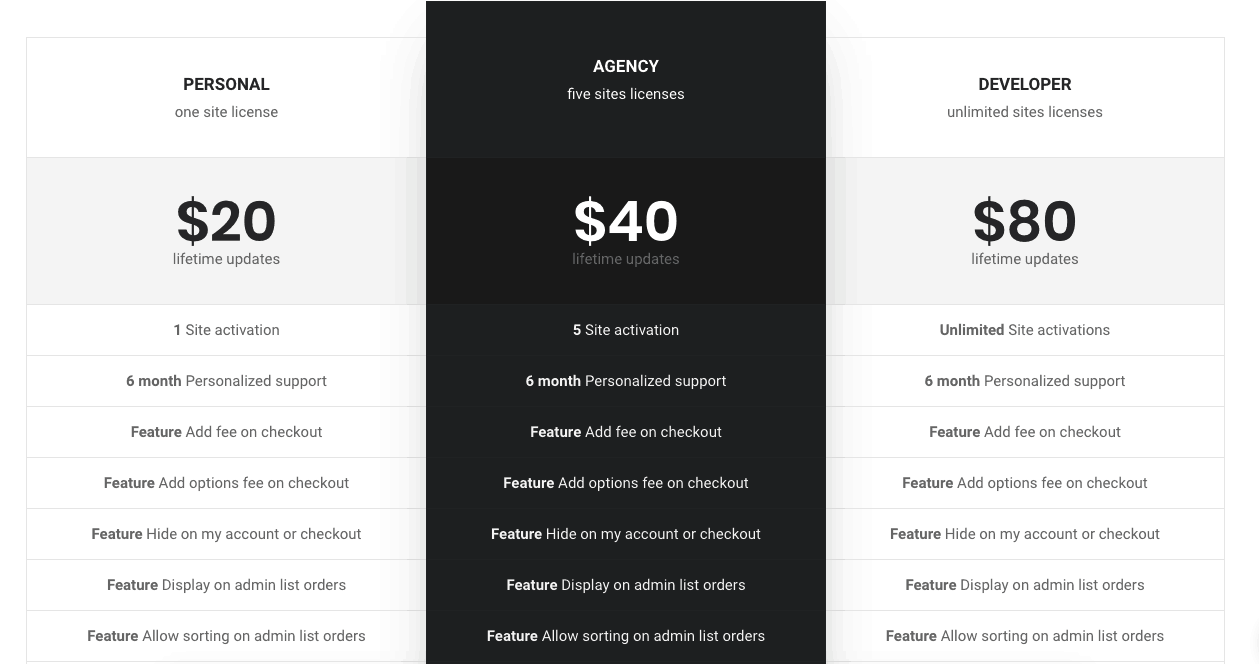
After learning all about this plugin and its features, the thing you are most likely wondering now is at what price you can get all these amazing features. Lucky for you, the core product is free. If you do want your product to come with a number of special features, six months of personalized support, and the possibility to be activated on multiple sites you run, then you should maybe consider going for one of the paid-for packages.
The least expensive option is the “personal” package, with the price of 20$. This package allows the activation of the plugin on only one site.
The most recommended package is the “agency” one for 50$, and it can be activated on five sites.
The last and the package with the highest price is the “developer” package. Although it might be the most expensive one, it holds that title for a reason. For only 80$, you can activate the plugin on an unlimited number of sites. A bargain if you ask me.

Conclusion
Now that we are at the end of this plugin review, now you might understand why this plugin was a leader in the WooCommerce extension and plugin category. Besides the abundance easy to use features, and the reasonable price point, it has over 60000 active installations, boasts a 4-star rating on WordPress.org and is available in 6 different languages. For anyone looking to do quick and easy customization of their checkout page so they and their customers can have a better experience during the purchase process, this plugin is the way to go.
Don’t wait till you notice a drop in revenue because your customers change their minds at the last minute, usually when they get to the checkout page to decide on changing the page up. Why wait till that point when you have this great plugin at your disposal, for literally nothing (or a very small fee), allowing you to make the customization by yourself as early as today.


- Five Strategies for Improving Communication in Your Business: Increase Productivity and Satisfaction - June 8, 2021
- Simple Author Box Plugin Review - June 20, 2020
- Visual Composer Website Builder – Build a Site With No Hassle - May 13, 2020