
In most cases, WordPress websites are immediately poured” on the hosting. Initially, they are installed on a local server depending on the individual preferences of the web developer. On a local computer, WordPress websites are run, tested in different browsers, filled with content, and transferred to the hosting in the last stage.
Taking a WordPress site from a local host to the server is not rocket science if you don’t do it for the first time or you have at least the necessary abilities to be a webmaster. But, novice site builders often make mistakes when moving a site to the hosting and damage it partially or fully.
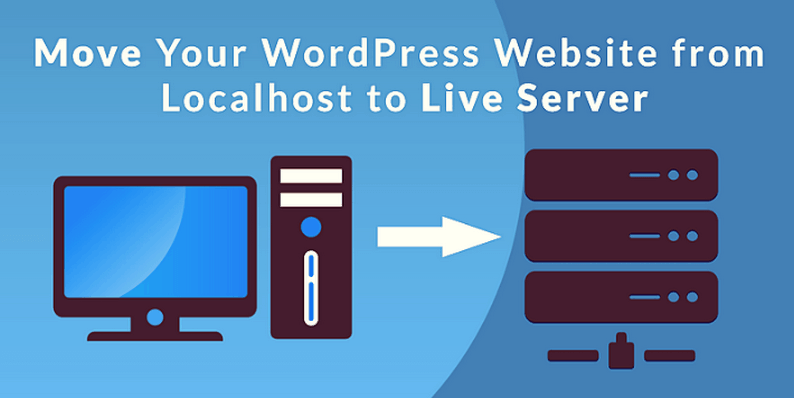
Therefore, we have discussed the ways used in WordPress Development in which they can perform transfer the site from the local server to the hosting without facing any problems. Let’s get started.
Why Do You Need to Transfer Your Website to the Local Server?
Most entrepreneurs support this movement to test the functionalities of new themes, plugins, and significant changes in the code. This helps them to check all the features of themes, plugins, codes, etc. before they are made online.
It also allows them to practice their coding skills by working with real site data. It should be kept in mind that the real data of the site gives a better visual idea of how these changes will work on your website and fetch more business opportunities for you. Some webmasters strongly recommend this movement to keep your website safe.
1. Backup Your Website At First
The first thing you need to do is to make a backup copy of your site. It includes all site files and a database. On most web hosts, you can make an archive using the site files. To do this, go to the administration panel of the site on the hosting, create an archive of all the site files, and then upload the archive via a browser or using any FTP-manager.
You can copy all the site files using only an FTP-manager. Downloading all the files may take some time depending on how large your site is and on the speed of the Internet connection.
2. Log In To The WordPress Control Panel
To do this, Go to the Settings menu-> General, change the site address in the URL field to the new one and click the Save button. Don’t open your site here.
3. Export the Database of Your Website
Just open the phpMyAdmin section of your local server and export the database of your site. Make use of the Ctrl+F command to highlight the stuff you want to export. Now, click on the export tab and choose one option between Quick export and Custom export. Name your file, select its character set, and compression.
Ensure the selection of structure and data under Format-specific options. Check Add DROP TABLE / VIEW / PROCEDURE / FUNCTION / EVENT statement in the Object creation options and take note of other settings. Click on the Go option and save files on your computer. It will take several minutes, depending on the actual size of the database.
Go to http://localhost/phpmyadmin/ and click on your WordPress database. Next, click on the Export button from the top menu bar.


In the Export Method option, you can choose “Quick” or “Custom.” Custom will provide you with more options to export your database.
4. Use the Replace All Option
Open the downloaded code in the PHP editor. Use Notepad ++ or any other similar tool and Press Ctrl + F to open the Search and Replace tool. Click Replace 2 to all option. Specify the current and new web addresses in the corresponding fields and click “Replace All.” Save the changes made by you.
5. Upload Files to the Server
Once you have completed the editing of files, transfer files and folders of your site to a new server.


6. Import Files
To do so, Log into phpMyAdmin on the host and import the previously edited file. SQL into a new database. You need to edit the file wp-config.php after downloading files from the hosting. This file contains database information, such as database name, username, password. As you have transferred all the site information into a new database, you need to specify new details there.


Click on the Browse button next to wp_options or the link that you see in the sidebar to open the page with a list of fields within the wp_options table. Under the field options_name, you need to look for siteurl. Click the Edit Field icon which can be found at the far left at the beginning of the row.


Now, you have successfully transferred the site from the local server to the hosting and open it on a new address easily and effortlessly.
Things That Should Be Kept in Mind
While transferring your WordPress website from a local host to the server, an https protocol error may occur if your web project had an SSL certificate. In that case, the site may not open, or the browser will show a non-secure connection. You should rebuild the browser in this situation.
For a website that have already migrated to the new addresses pointing to the secure HTTPS protocol, there are already a few other requirements. For example- you need to make changes to the .htaccess file.
If this is not possible in your case, replace this file with the original one by downloading it from the official site WordPress along with all the files. Once you complete all these steps, the transfer of the WordPress site from a localhost to the server will be successful.
Summary
WordPress Website shifting from a localhost to a good hosting is not a difficult task. Just follow the above-mentioned tips to perform the task and start using your website on a new server.