
No one ever gets hacked, right? “There are other, more important websites for hackers to get a grip on,” is what you are probably thinking. But, if you are honest with yourself, would you rather rob a rich-looking mansion with two mean-looking guard dogs, several cameras, seven guards with automatic weapons, and what looks like a hallway filled with lasers? Or would you rather go with the house down the street with no protection whatsoever, whose owners leave the doors unlocked? A TV is a TV, after all.


While the first might seem like a spy-movie type of thing and somewhat intriguing, the point here is: you want to take the easier road there. If you are trying to steal something – an easy target is probably the better idea. So, regardless of how small your site is: it could become the perfect target for hackers if you don’t lock your door, windows, and the chimney (sorry, Santa). Then, not only you can lose your site, your business, and the bread on your table: A hacked site is a threat to other sites, too – and you probably don’t want to be “that guy.”
When it comes to WordPress security, there are many various steps you could take to avoid becoming that guy. From automatically locking out suspicious-looking IPs, to performing regular scans, there is a plugin that can help you automate your WordPress security.
It is called the Defender, and it comes in both free and paid options. Created by an amazing WPMUDEV team, the same one behind some of the other notable WordPress plugins such as Forminator or Hummingbird, or incredibly secure WordPress hosting, it could be the plugin to solve all your security needs, and provide you with some ease on the topic.
What is the Defender?
You are looking to step up your WordPress security without going through any code, and even better, going through any plugin’s difficult setup and settings. Do you really need to know all the twists and tweaks you could make, and what do they even mean? Wouldn’t it be grand if you could just install something that could tell you what to do and how to fix things?

You can install the Defender. This quite beginner-friendly and overall user-friendly plugin doesn’t come with a steep learning curve, but comes with a great scan, and easy to use interface, so you can bulletproof your security without going through all of that. All you need is to click a couple of buttons!
What are the features of the Defender?
We’re happy you asked, and we’re more than happy to provide a comprehensive overview of this plugin! Without further ado, let’s get right to it.
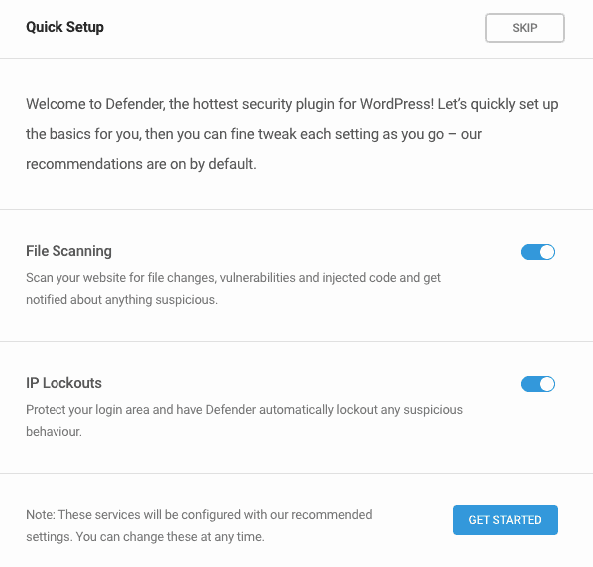
The first thing you will notice when you install and activate this plugin is the effortless setup wizard. Almost all of the things are already set up at this point, and all you have to do is click on the blue button. The Defender will then analyze your site security in a matter of seconds!

Once it’s done, you will be able to see your dashboard. As with most of the other WPMUDEV plugins, the Dashboard is straightforward, perfectly organized, and you can get a grip on the plugin just by looking at it. The first thing you will probably notice is a number of security issues this plugin found on your site. Shocked? You should be if the number is higher than zero – because it actually means the number of ways hackers can enter your site!
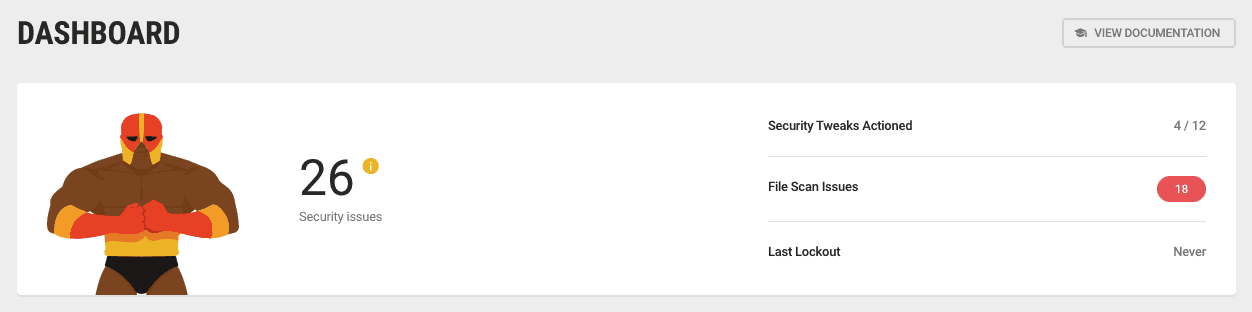

The Dashboard will also provide you with quick access to other Defender’s features, which will we go through together now.
Security Tweaks
The first step is the Security Tweaks. You could be rolling your eyes now because you are wondering why did you install this plugin if you had to do this yourself? Patience, please, you will see it in a short time!
This feature actually summarizes the potential security holes, and things you could improve listed rather conveniently in a collapsible menu. Here, you can see the recommended improvements for your site’s security. What does half of it mean, you might wonder? Just expand on each!
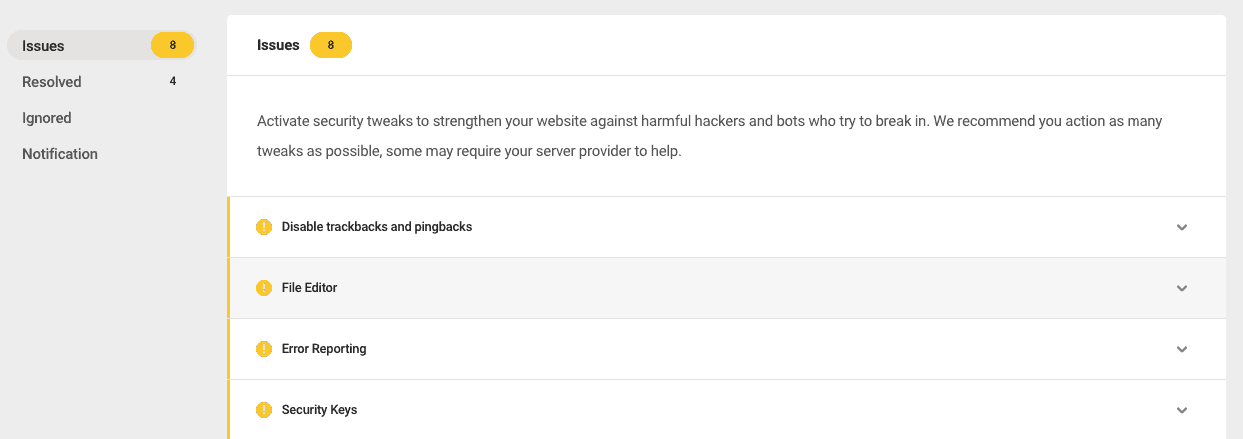

The first thing you will see is an overview, which will explain the security tweak for you. You can then check the status of the tweak on your site, and most importantly, get to know what to do about it with the “How to Fix” paragraph! No more guesswork, no more Googling the unknown security issues – the important ones are all in one place.
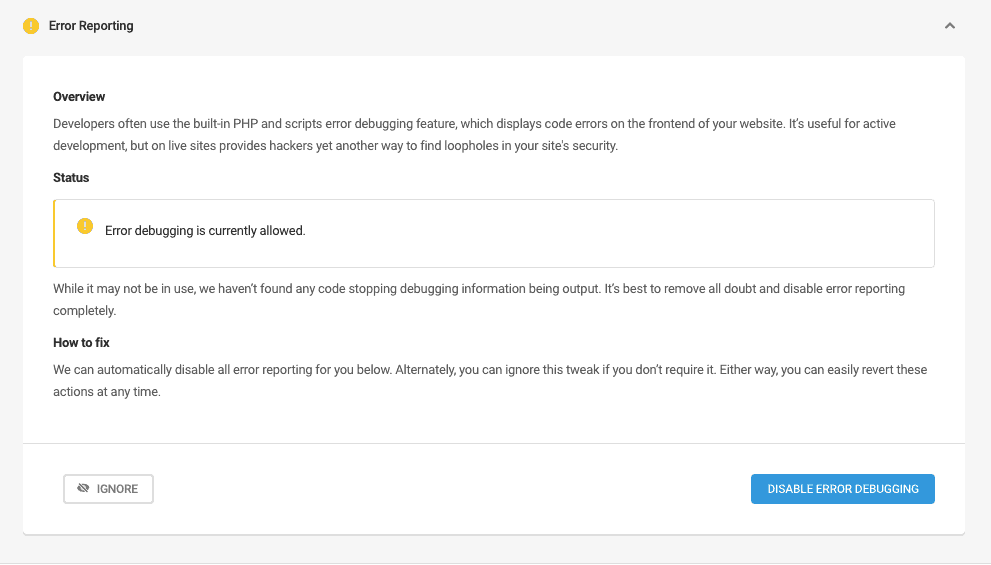

You can choose to fix them, after which they will fall under the “resolved” tab, ignore them (while this is not recommended), which you can later find under the “ignored” tab. Last, but not least important, you can set up email notifications, so that you can be sure that you will get notified in case something goes wrong with your security tweaks!
File Scanner
Do you know if all the files and code in your WordPress core are supposed to be there in the first place? Some of them aren’t, and you can rely on the Defender to help you with that.
File Scanner is the Defender’s rather useful feature that can, in no time, present you with a list of files in your WordPress core file that might not belong there. It is not to say that they are harmful whatsoever, but they could be, too. So you might want to give them a long hard look and do something about them.
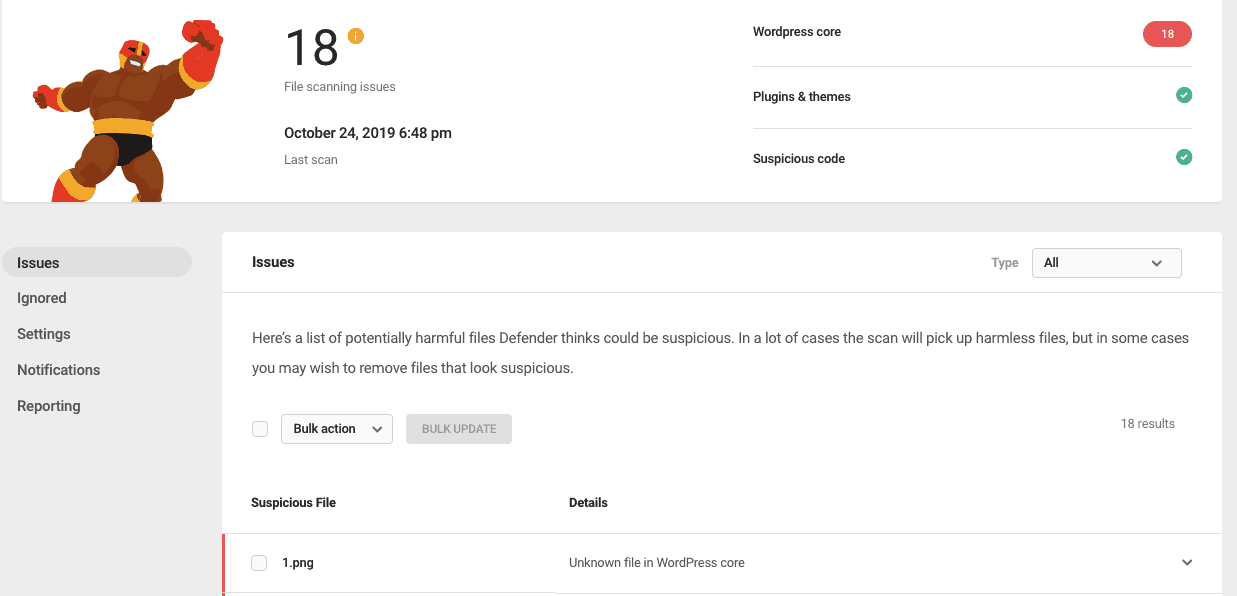

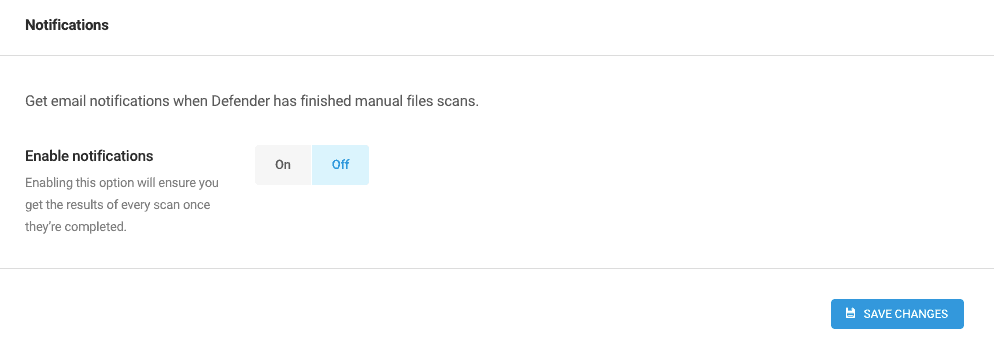
You can, of course, ignore them, too, and they will end up in your “ignored” tab. Or, you could create a backup of your site, and start getting rid of them, one at the time. It’s always better to be safe than sorry, right? Last but not least, less important is the notification option. You can set up email notifications to inform you of any new and potentially harmful files.

IP Lockouts
While it could be frustrating getting locked out of your account because of a typo in your password, this is not always the case. This is a common way of hackers looking to get into the backstage of your site, too!
Login Protection
This is something you are probably familiar with, and you were looking to add to your site but didn’t know how to do it. Luckily, with Defender, it’s a piece of cake. All you have to do is add an allowed amount of times a user can try to get in and the timeframe in which they can attempt it. Let’s face it, five times, in five seconds is a bit suspicious.


Under this tab, you will effortlessly see the number of lockouts that happened on your site, if any. If it happens, though, you can also select what happens then: from a follow-up message to the consequence. Do you want the user banned forever or just for a specific period of time (a regular user could use to cool off)?
404 Detection
This is another useful feature of the plugin, which is preventing hackers from taking advantage of your 404 sites. Just like with login protection, you can choose to ban IP permanently or temporarily, set the timeframe, and a number of attempts. An effortless check of a number of lockouts within the display comes with the package.
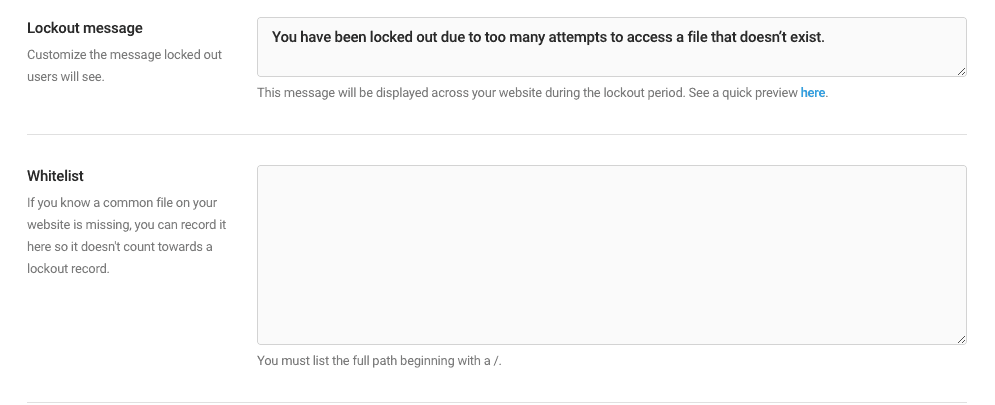

On another note, you can also select to ignore specific files, and whitelist particular users. You don’t want your developers with fast fingers banned for good, right?
IP Backlist
Every site has a persona non-grata, or, to be more precise, IP non-grata. If you see many attempts from the same IP, you want to defend yourself, by putting it on the IP Blacklist. Doing so is a piece of cake, all you have to do is copy and paste the IP address in the provided blacklist field, and the plugin will do the rest. You might want to set up the message for it to present the dreaded IPs with, though. Amazing, right?
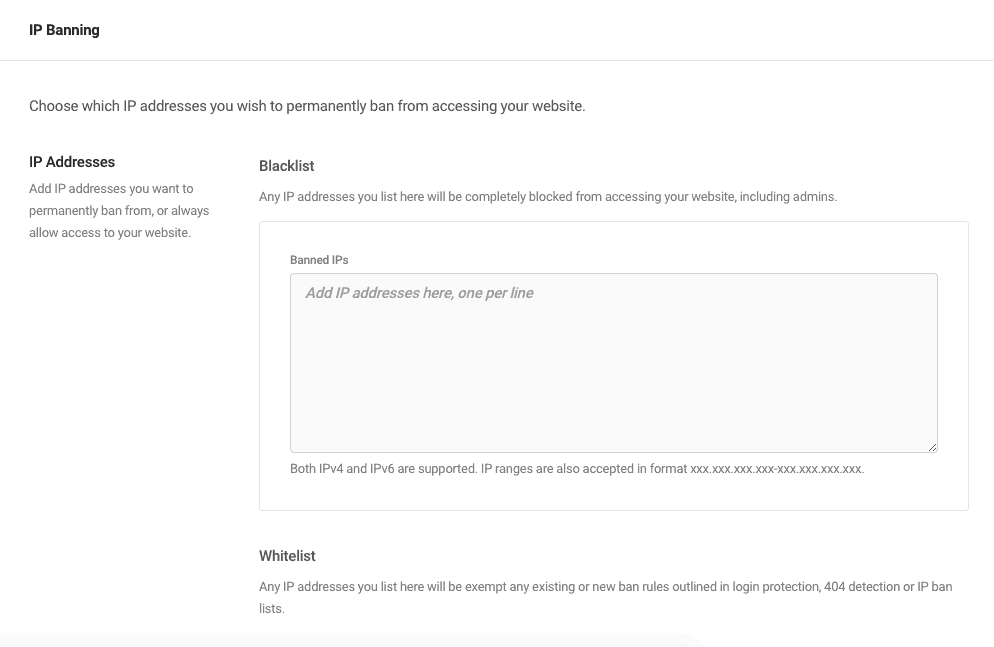

You can also ensure that some IPs are always welcome, by adding them to the whitelist, import an existing black or white list, or export the ones you just created.
Logs
But how do you know which IP attempted to hack you in the first place? Don’t worry; Defender has you covered. Just head on to the tab “logs.” There, you will be able to see a comprehensive log of all the IPs accessing your site!
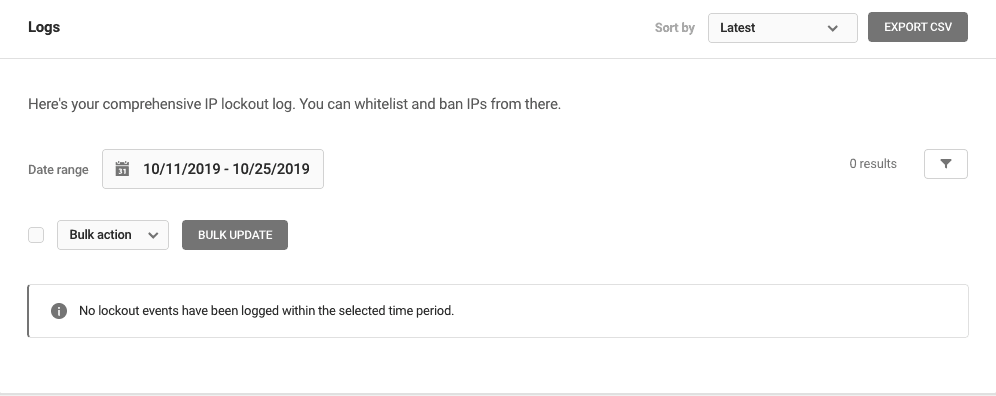

To make it easier for you, you can use these logs to add IPs to both blacklist and whitelist, depending on where they belong. Simply check them, and use the action’s dropdown menu to do what you need with them.
Again, of course, you will be able to set up email notifications, set up how long you want the plugin to keep the logs, and even delete the outdated ones.
Advanced Tools
Now we come to the fun part: the advanced tools. These tools are the two last steps, but probably the most important ones, in setting up your website’s security. To be more precise, it’s the Two-Step Verification, and Login Screen Masking. Let’s get into more details.
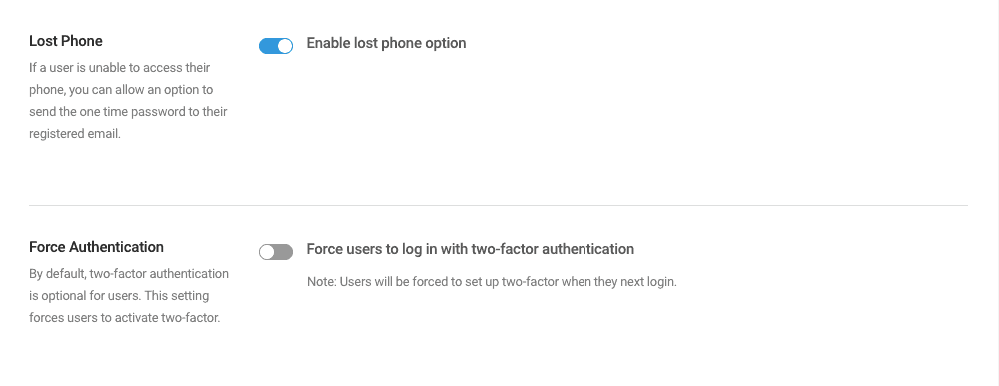
Google’s Two-Step Verification
You might think that your password is not good enough – and it is rather understandable. With all those sites asking you to add your phone number “just in case,” (we’re looking at you, Google), and all that, you are not alone in those thoughts.
This step is a guaranteed one to ensure that only the users you want to login can do so. If any of them handed over their password, or there was a breach, you can sleep tight that no one, except the designated user, can access your site. Still, how can Defender help you with it?
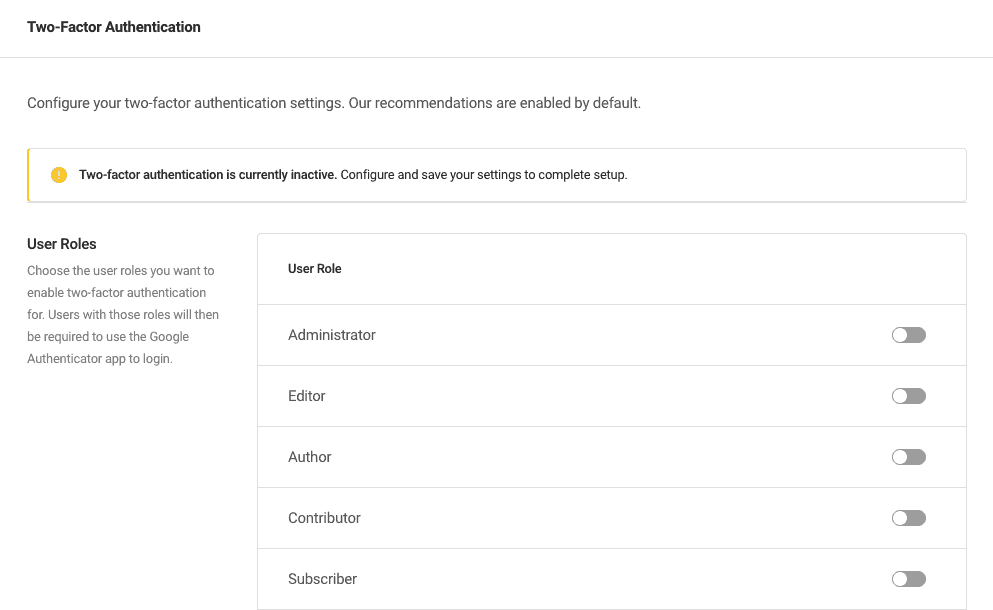

If you are looking to add a two-step- verification to your site, you can do that with the Defender in no time. First, you should activate it, and then you will be presented with a list of user roles you want to use this authentication method for. Switch the toggle for the ones that you do want, set up force authentication (if you want to force your users to use it the next time they want to log in), and see the list of users that are using it. Piece of cake!

Login Screen Masking
The easiest way for your site to get hacked is to keep the default login URL. Every hacker and even some bots will attempt it, trust us. So, what you want to do is to change it, and with Defender, you can do that in no time.
Again, the first step is to activate it. From there, changing your default login URL is as simple as picking the new slug! Just type it in the provided field, and save the changes – you will be good to go!
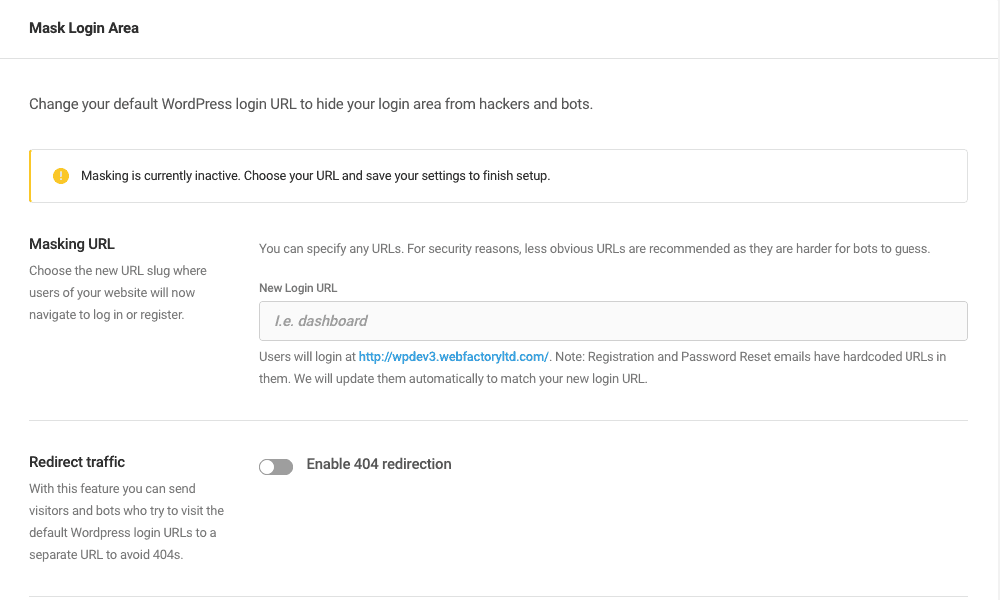

You can also set up a redirect to avoid a 404 page if you need it. The plugin will use it to send the users that are trying to login using a default URL to it instead!
To sum it up
If you were looking for a plugin to help you with your website’s security, you should have, by now, figured that the Defender is the right one for you! Covering all the holes that might come up in your site’s security, without having you struggle with discovering them in the first place, and providing you with useful tips and solutions to handle them should be more than enough, right?
Still, if it isn’t for you, then you should go ahead and take advantage of all the other features. From adding the much-needed two-factor verification, to the lockouts, and banning the unwanted IP addresses, you can make your security airtight with this straightforward plugin, even if you haven’t ever thought of security before.
Did we mention that this plugin comes completely free? Because that is another important con for using it! Can you think of a better way to protect your site without spending too much time figuring the ropes or money for other plugins (or WordPress forbid it, developers)? We can’t, and we see no reason why you should. Just go ahead and install this amazing plugin!


- The Beginner’s Guide to .htaccess - October 25, 2023
- Best WordPress Christmas Deals and New Year Discounts 2019 - December 17, 2019
- Get The Best Performing Online Store With WooCart - November 25, 2019